Click on any picture to open a slideshow. Once there, you can click the link in the caption for the full-size picture.
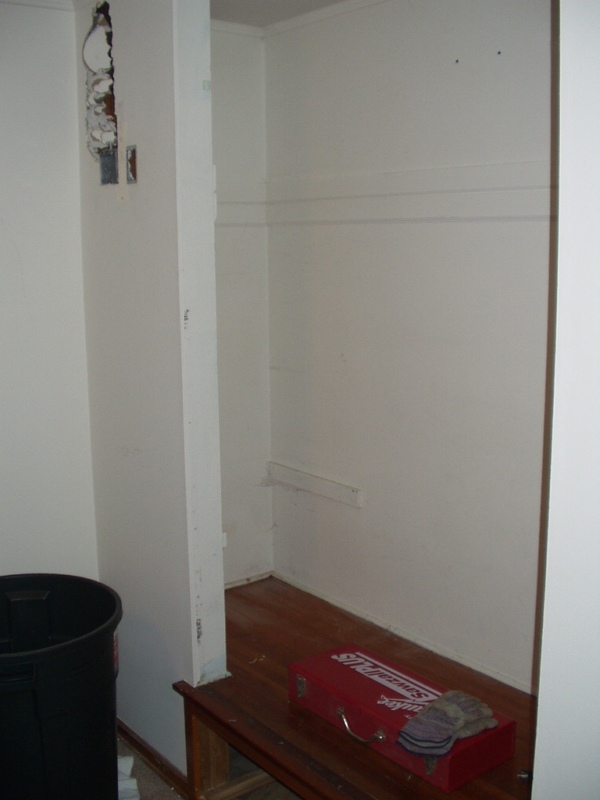
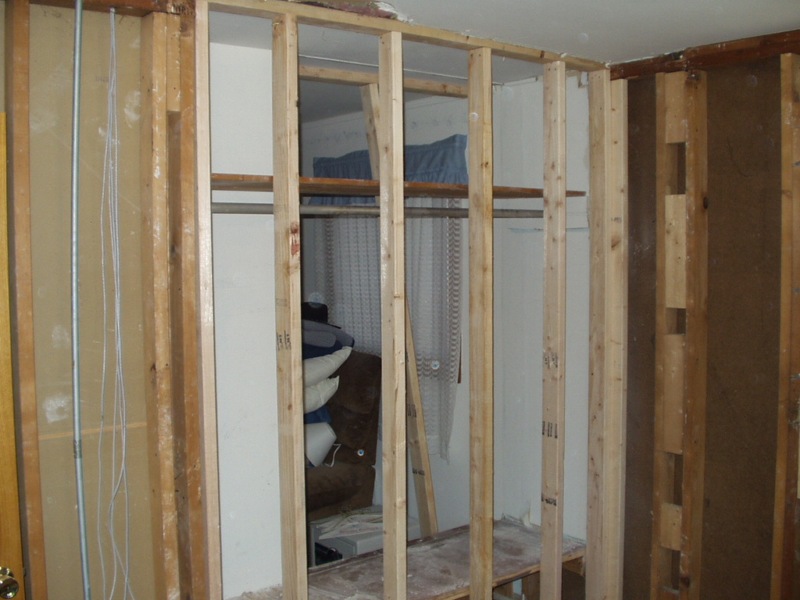
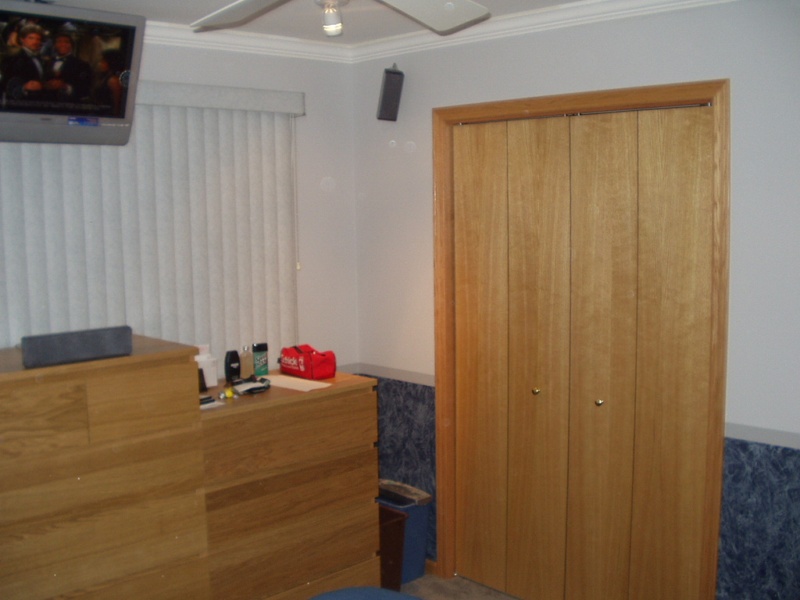
 The closet before demolition. The sawzall is sitting on top of the drawers. |
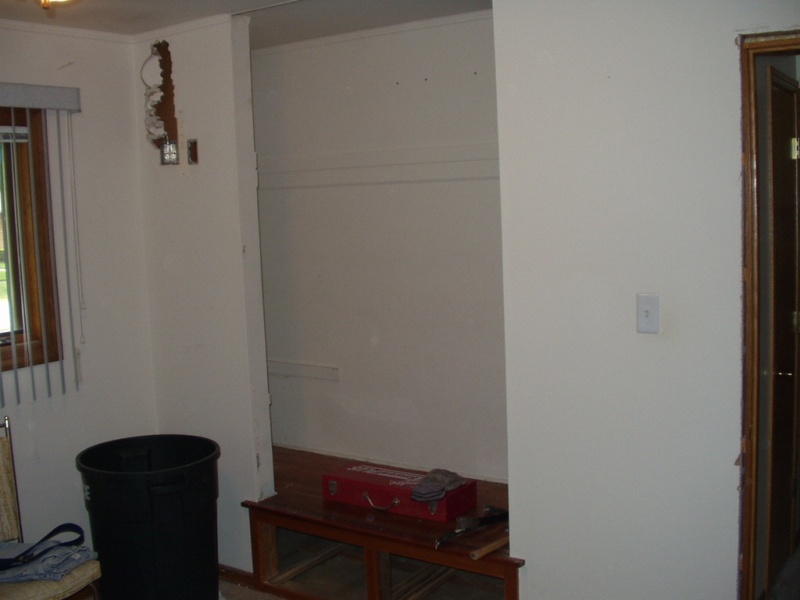 A better view. The closet runs full-length left to right. Behind it is the coat closet accessed from the living room, and the linen closet accessed from the hallway. |
 |
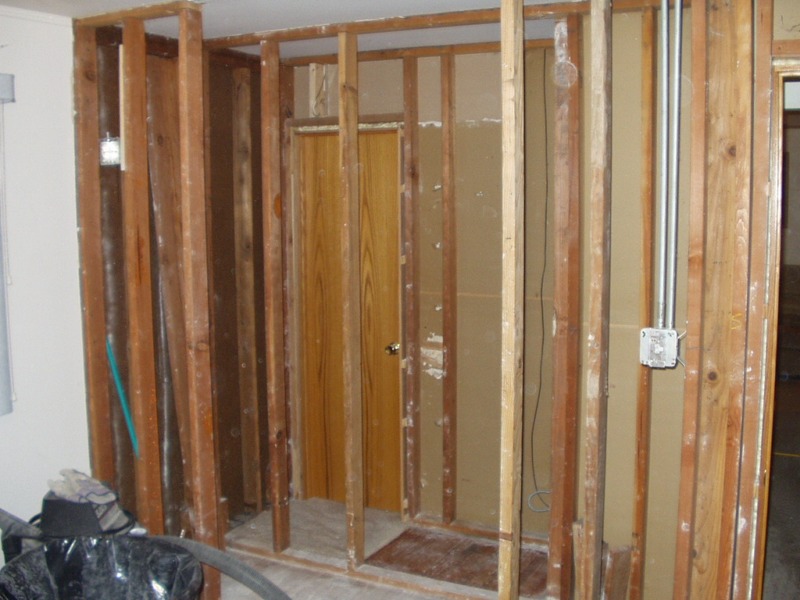 All drywall removed and hauled out. (14 bags of it) I removed one stud in the middle of the back of the bedroom closet wall. The un-carpeted area in the coat closet is the approximate area that will become part of the bedroom closet. |
 |
 The layout of the changes. (Not quite to scale) Now instead of one long closet rod left to right, I will have three areas that I can double-bar if I want. I will probably double bar two of them and leave the third for long hanging, shoe racks, and shelves. |
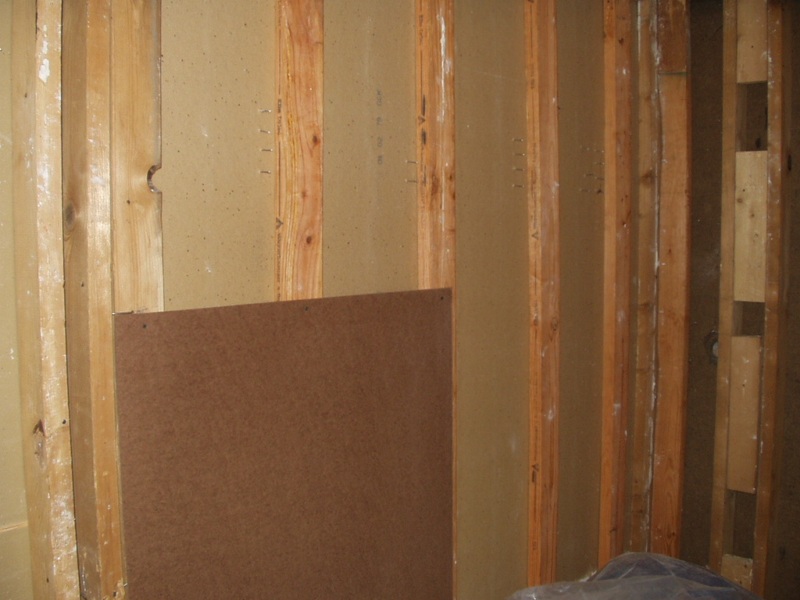
 All drywall is now removed. The garbage guy is going to hate me by June! |
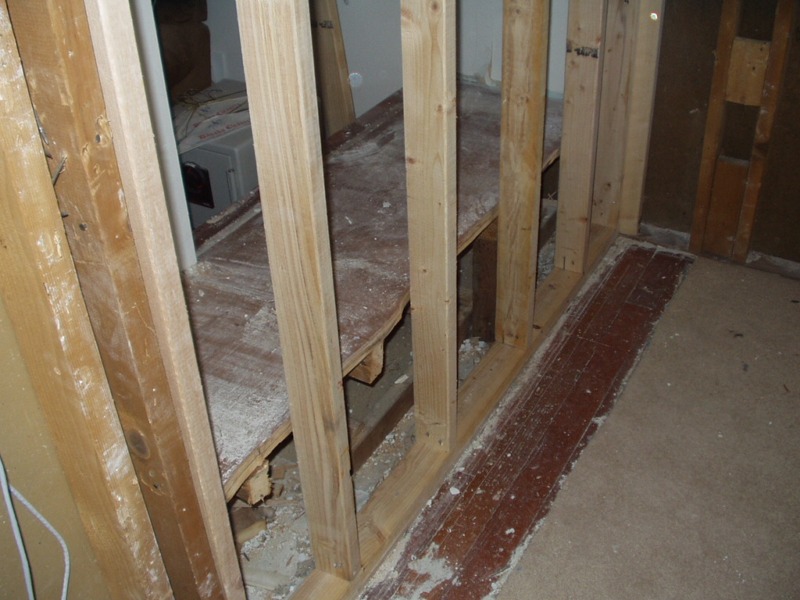
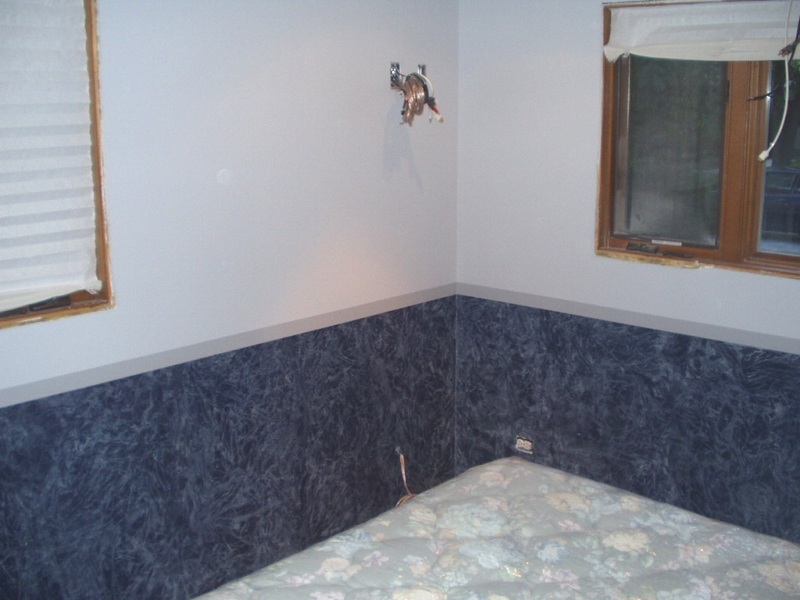
 Not sure why the left side of this wall is framed this way. It's almost as if the wall was originally further in the bedroom and got moved back, but I don't see how this is possible. |
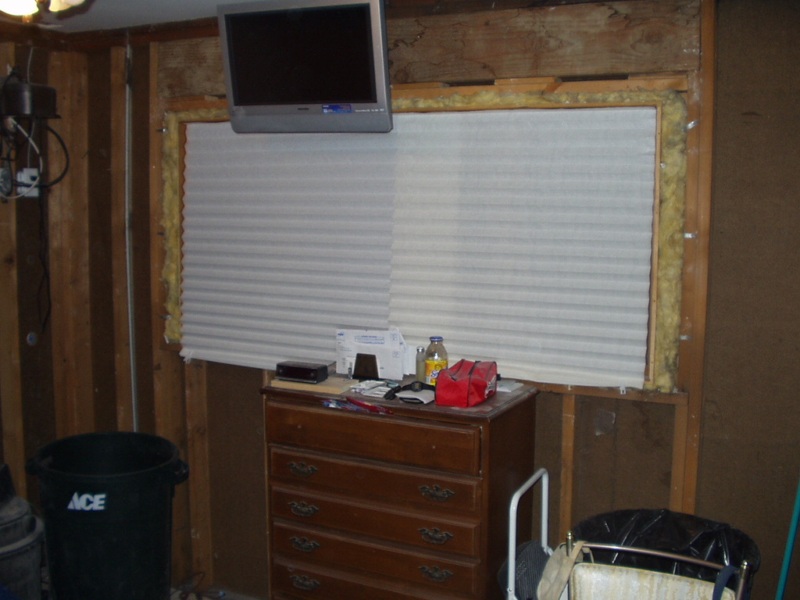
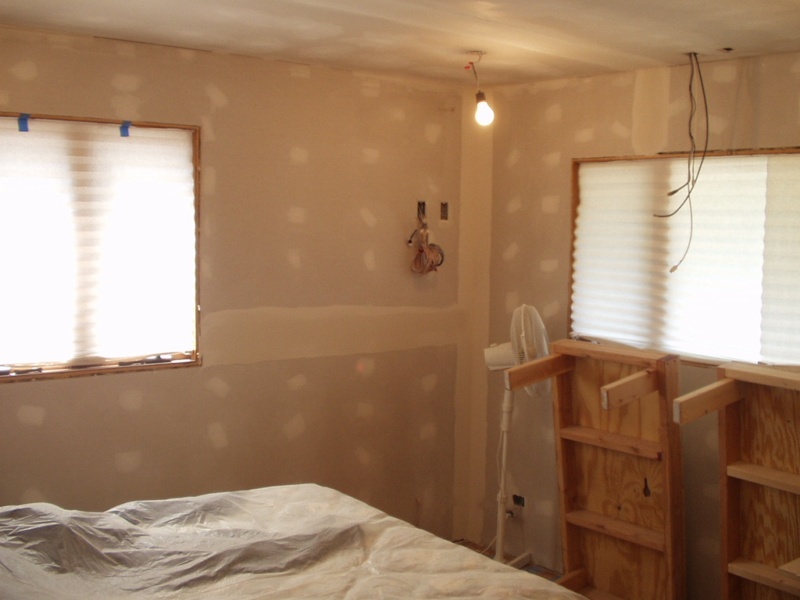
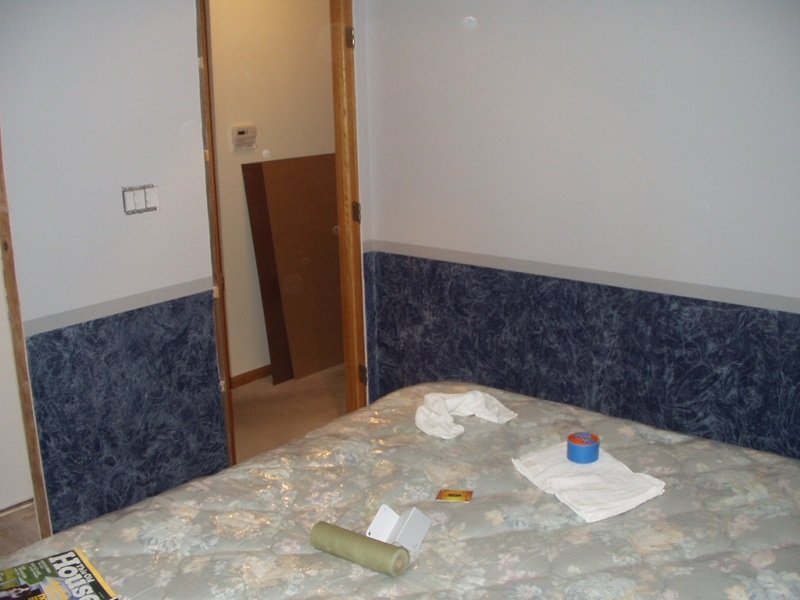
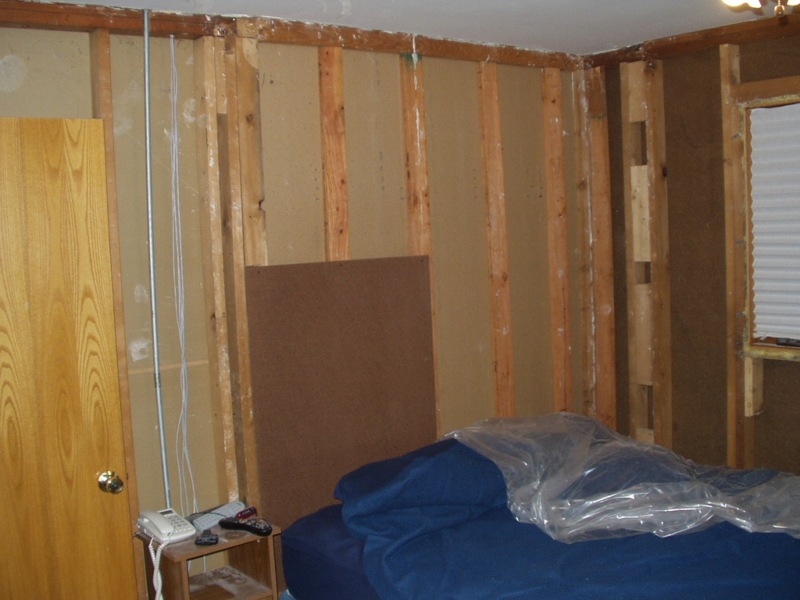 Temporary headboard so I can watch TV. This is leftover from the back of Chris' cabinet - Thanks Chris! |
 The right side of this wall backs up the closet in the office. Unfortunately, it's framed "on the flat". This was probably done to save space in the 2nd bedroom - wow, a whole 2 inches saved! This is bad for me because I want to put an outlet on that side of the bed. So I have to tear that part of the wall down and reframe it. Which means I have to take all my clothes out of that closet temporarily! Yikes! I just moved it all in there!! And, since it's a load-bearing wall, I have to support the ceiling with a temporary wall while I do it. Just when I thought this project might not go beyond what I originally planned! Why is it every project always turns into more than expected?? |
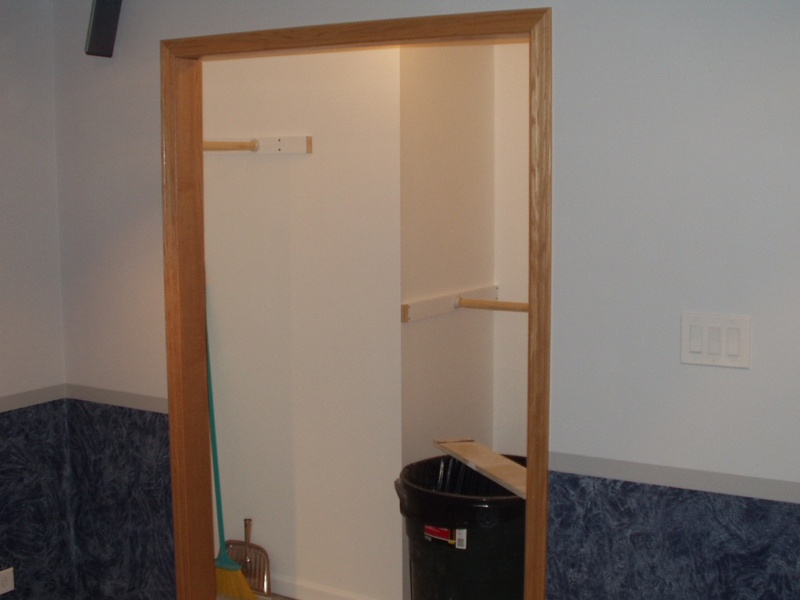
 All new framing for the closet is done. Ready for drywall, trying to decide if I need a light in the closet now. With the door now lower, light won't penetrate from the room. I am also changing the bedroom lights, so I probably will. |
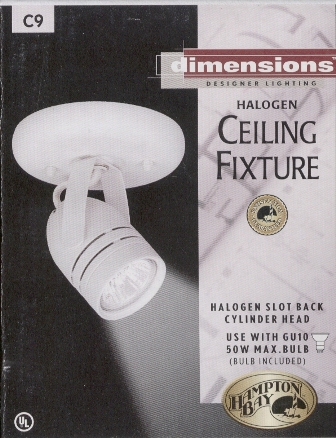 I am going to put 4 of these in the room, one about 2' from each corner. The ceiling fan will not have a light fixture on it. They also have this same style fixture that wall mounts with a plug in cord and dimmer switch. I may put one or two of those above the bed as reading lights. |
 This all gives new meaning to the term "open floor plan"! |
 Had to hack away a bunch of the office closet. At least it's something I won't have to do later when I do that room. |
 Three coats of mud. |
 Over 750 square feet of drywall, approximately 6 gallons of drywall compound. And I still have to paint?!?! |
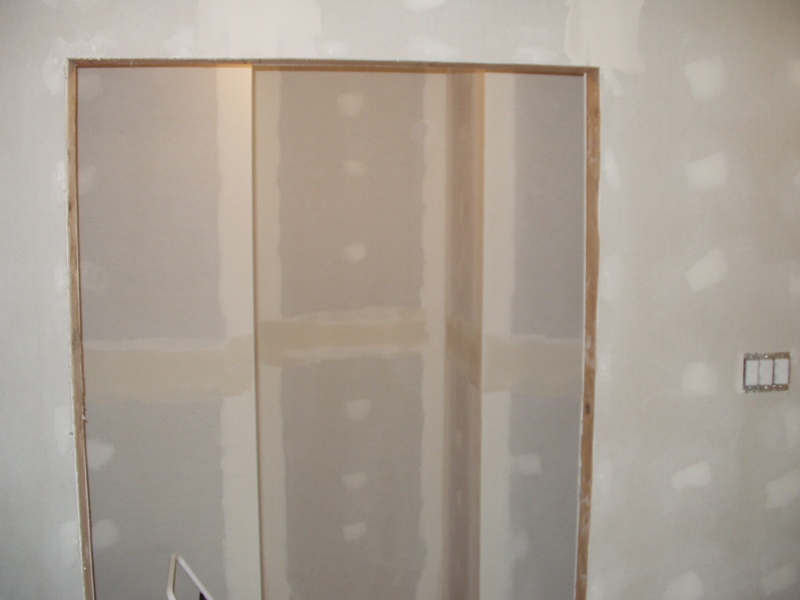 A view of the new closet configuration. |
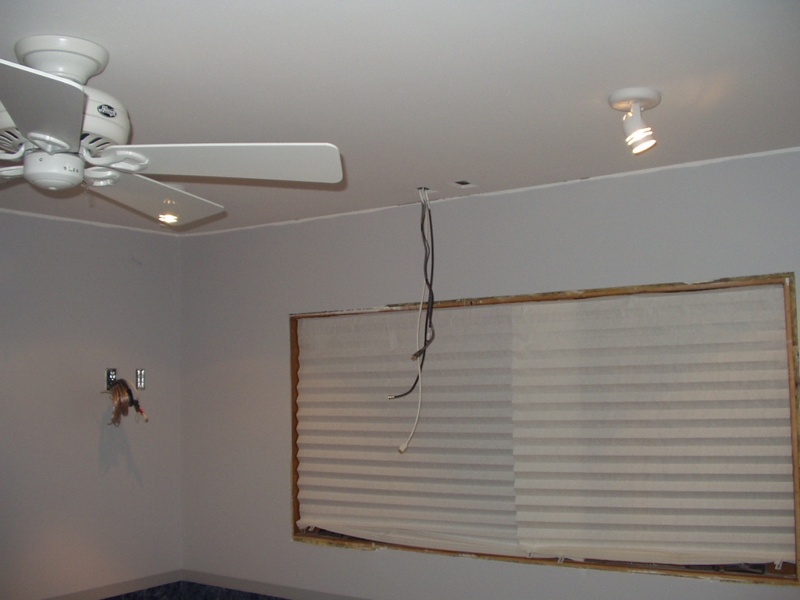 The new lights and ceiling fan. Interesting picture - the fan is on, it made it look like you can see the light through the blade. There are 4 lights, but it might not be bright enough. I may have to add two later. |
 Painting is finally finished!! Now I have to do all the trim carpentry - crown molding, baseboards, etc. |
 |
 |
 |
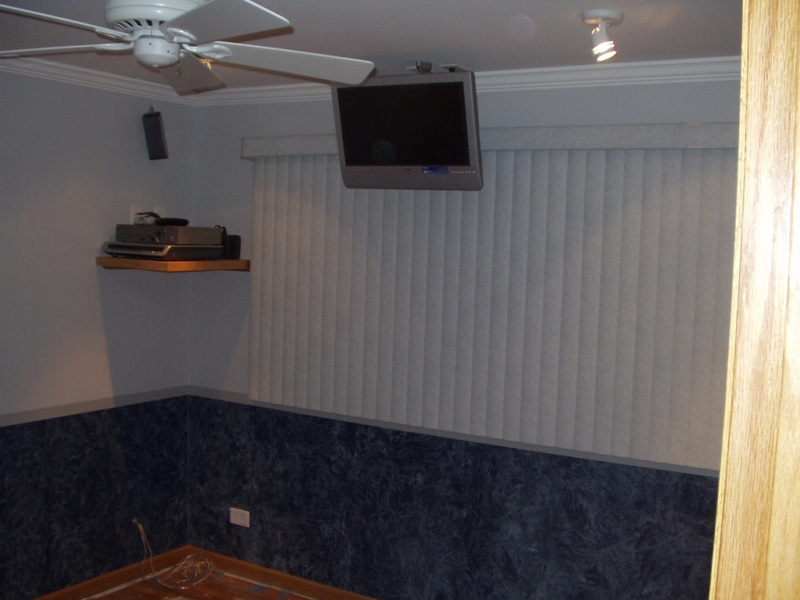 I still haven't decided if this is enough light or not. I'll wait till the carpet is installed, it may lighten the room some. |
 Closets are nearly finished. All rods are installed, have to make some shelves for shoe storage, and add a laundry basket for dirty clothes. Left side is single long-hanging. Middle is double-hung for shirts. Right side is single bar at the top for more shirts, with shoes below. |
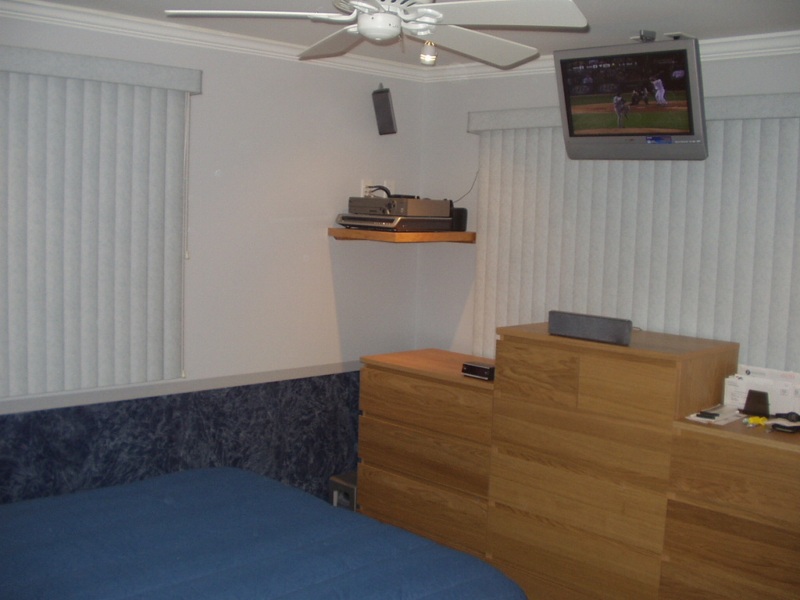 Finally done!! And the White Sox are now winning! Three dressers from Ikea. Arrived at the store at 10:20a.m., picked them out, went downstairs, found a cart, found the aisle and bin, loaded them, stopped to get a frying pan, paid for them, stopped to by some sweets, went outside, walked to truck, pulled truck into loading area, loaded everything in, pulled out of parking lot at 11:02a.m. See, Margaret & Chris?!? It is possible!!! |
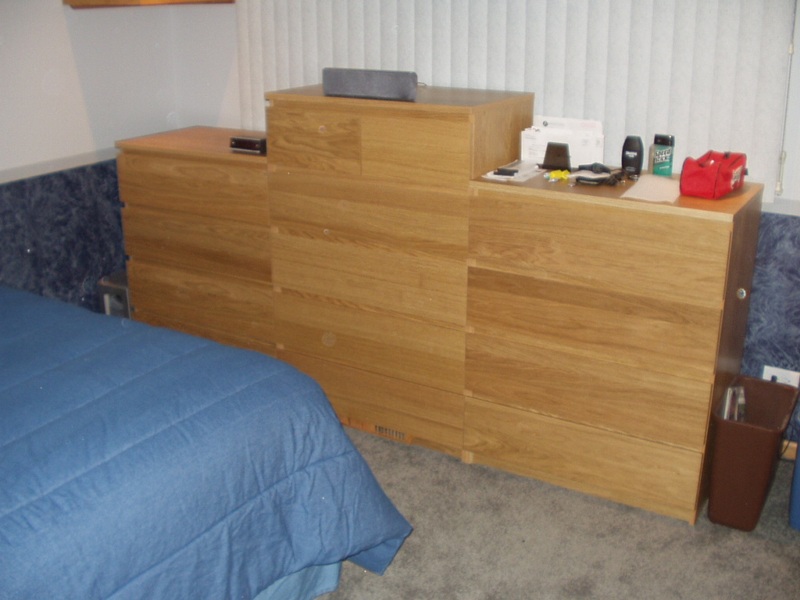 At the bottom of the middle dresser you can see where I put the heat vent. I had to put a false bottom in the dressers, then wood pieces to direct the air flow, then bought an oak vent. It works great. |
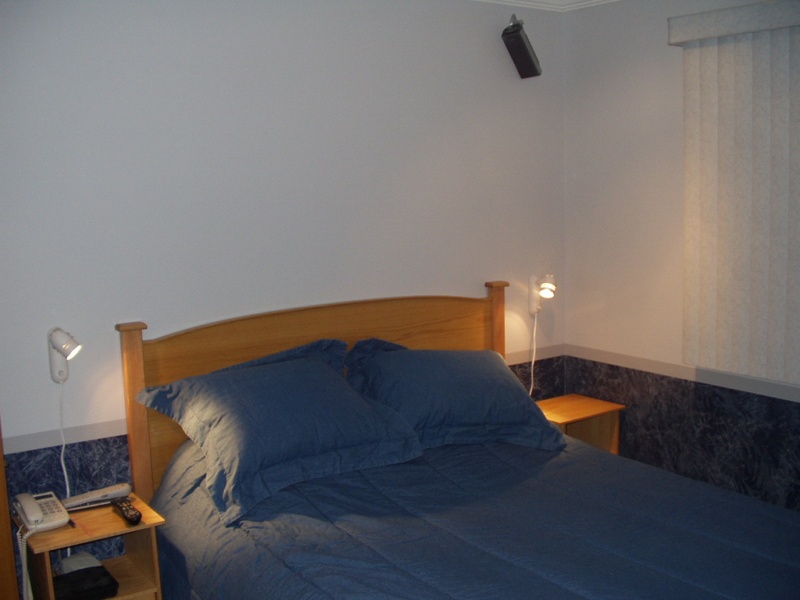 Not a view I'll see often - the bed is made! The reading lights match the ceiling fixtures. |
 A better view of the headboard and nightstands I made. It occurred to me tonight that these are the first pieces I've ever made for myself! The headboard was designed from scratch, the nightstands are copies of what I had, but I needed to replicate them in oak to match. |
 It's hard to see the carpet in all these pictures, but it's slate gray, and looks great. I picked the color in under 5 minutes! Same for the paint colors. In the full-size of this you can see how good the faux paint looks with the trim around it. |
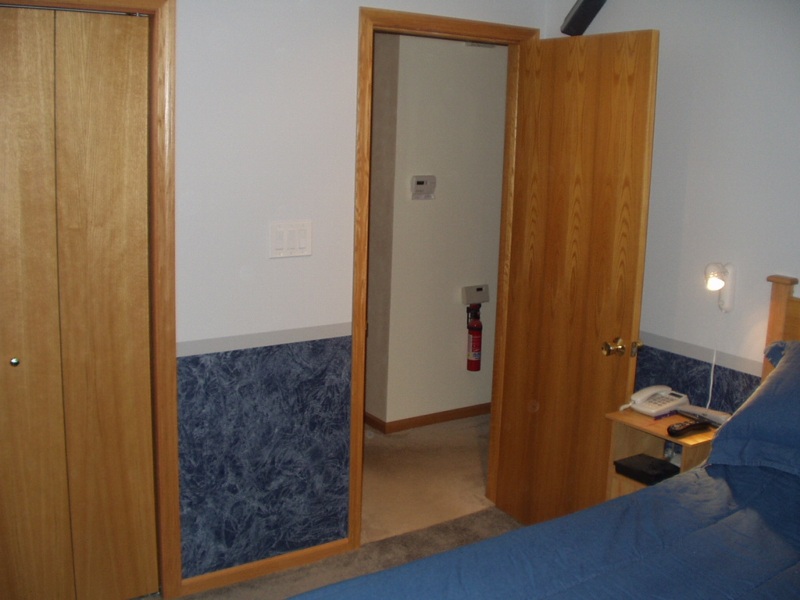
 The closet doors turned out nice despite the warping that happened when I applied the finish. I didn't like the white metal track that they hang in, so I made a piece of oak trim to hide it. |
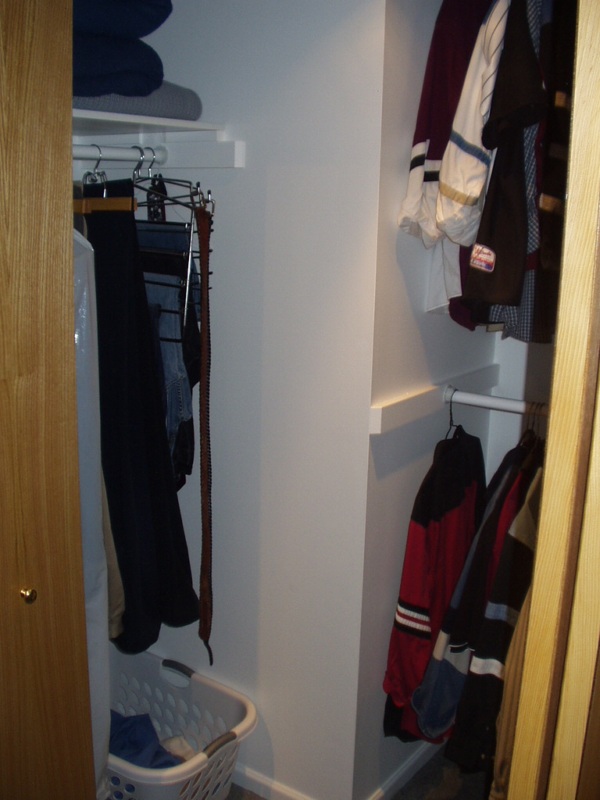 Left side of the closet. I originally planned on having the dirty clothes basket on the right side, but it's easier to throw clothes into it on the left. I plan to add a belt & tie rack, and a hat rack. |
 The middle and right side. There are four shoe shelves. The chair fit, and I needed something to put my foot on when tieing my shoes. |