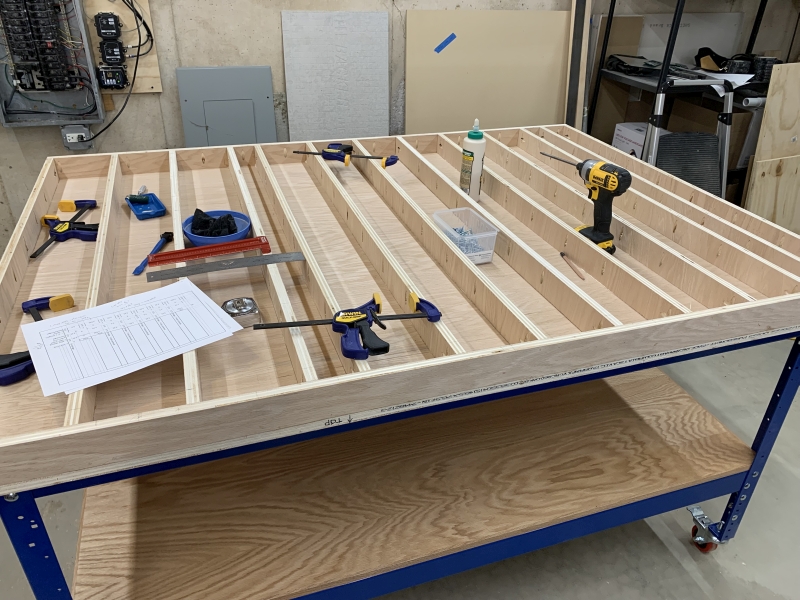
I decided to add a CNC router to my workshop. It will not replace doing woodworking by hand with power tools, but enhance it by giving me precision and repeatability. It will allow me to do things that would either be impossible or very difficult manually. Since the CNC accuracy is dependant on a solid, flatsurface that won't flex, I took the time to build a very sturdy workbench. I started with a steel frame from Kreg. I originally purchased this frame several years ago with the intention of using it to replace my regular work bench, but after assembling it I never made the switch.
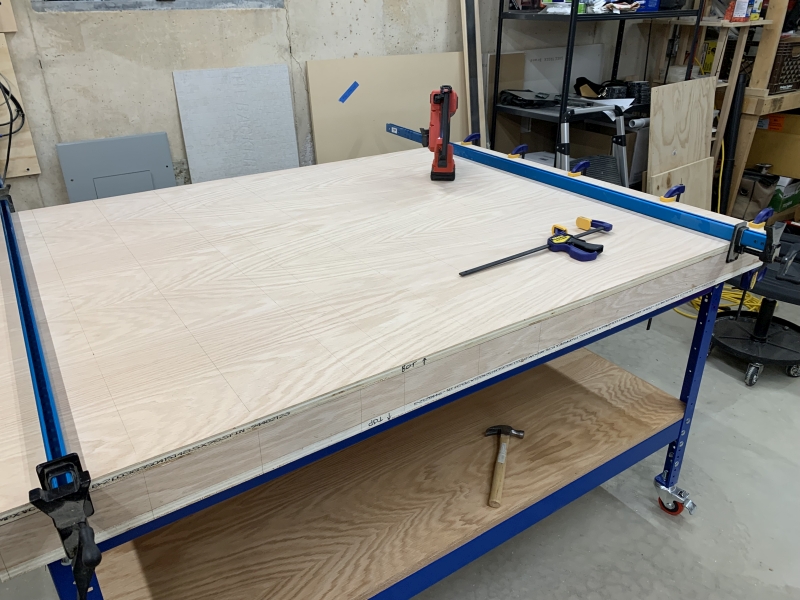
It was originally 44"L x 28"W. The CNC is almost 48" in both directions, so I needed this frame to be larger and purchased 64" rails to replace the 28". The frame is now 64"L x 44"W. The bench top will be 69"L x 49"W.
Click on any picture to open a slideshow. Once there, you can click the link in the caption for the full-size picture.
 I added supports between the steel rails to keep the top from sagging. I milled down 2"x4"s to be flat, straight, and fit inside the C-shaped rails. |
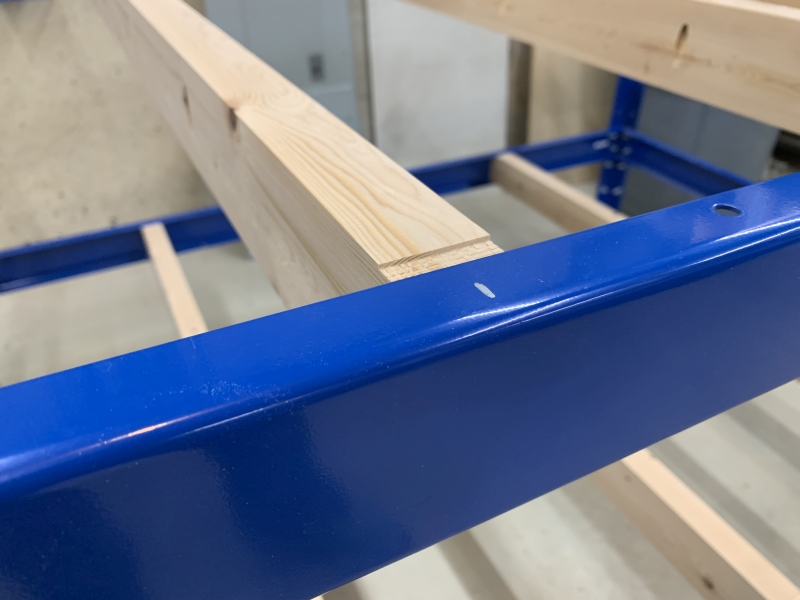 I notched the top of the 2"x4"s so they would be flush with the steel. |
 This is the shelf that sits under the top. |
 All of the plywood gets edged with 1/4" strips of oak. |
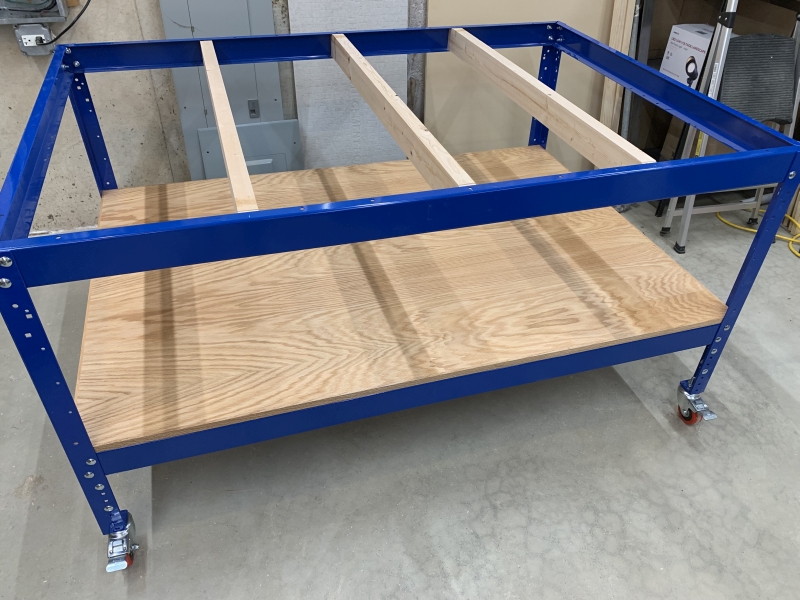 I ended up having to take the steel frame apart on one end to get the shelf into it. |
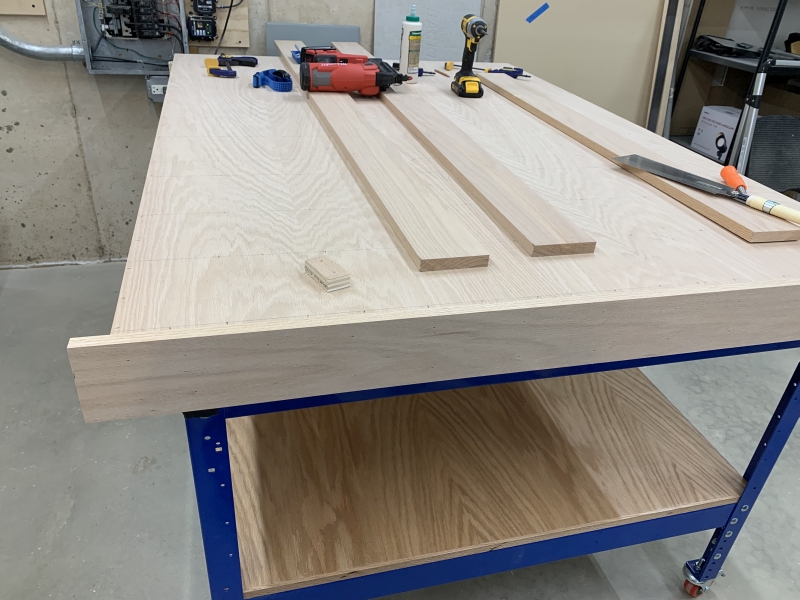
 Here I am working on the top, which is called a torsion box. This is being built upside-down. I am attaching these stringers and the outside pieces to the top with glue and pocket screws. |
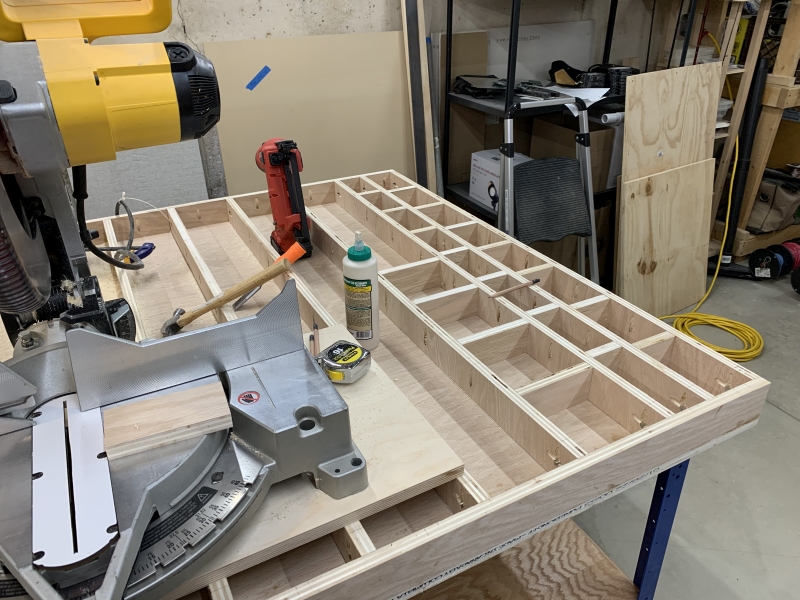 Here I am working on the tedious part of installing the bridging. Because the plywood is slightly warped, each of these has to be individually measured, cut, and nailed in. |
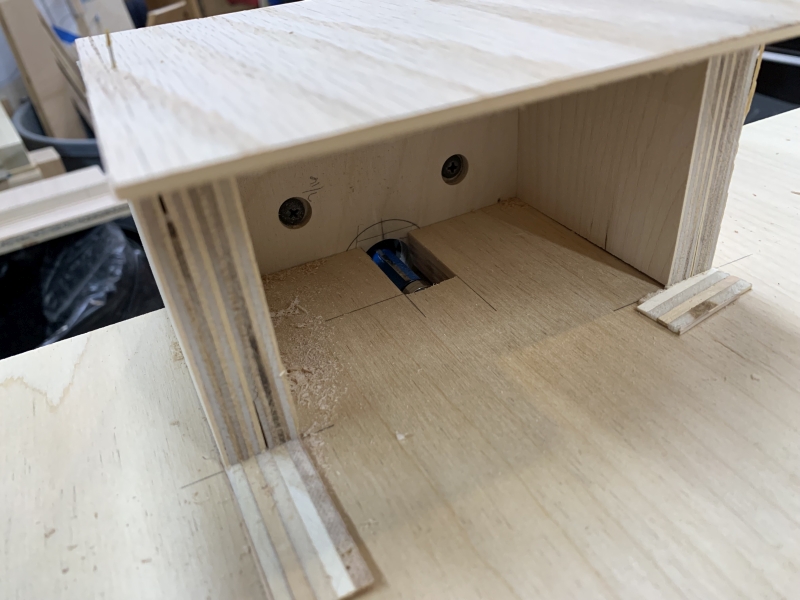
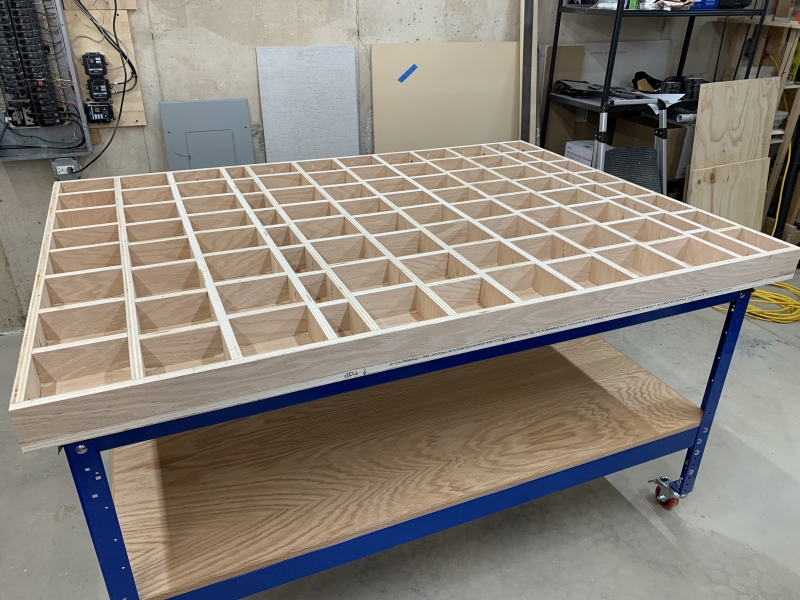 Finally done with the inside. The two pairs of stringers that are closer together are located like that to provide support under the feet of the CNC and more material to screw the feet into. |
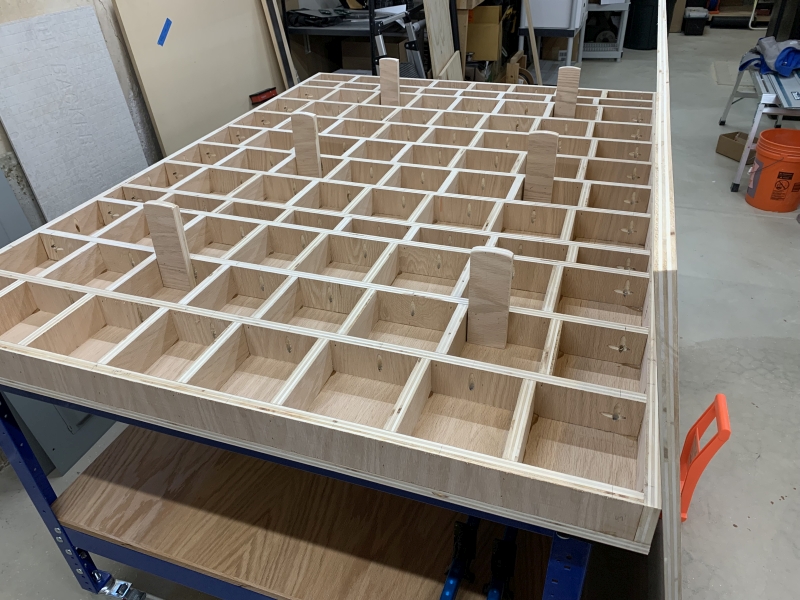 I realized that to get the bottom (48-1/2" x 67-1/2") placed without smearing all of the glue I would have to support it first and then lower it into place. So I built these supports, rounded the edges, and tacked them in place. I tested that I would be able to remove them with one hand. It worked out well. |
 I used clamps to hold the bottom in alignment and down to the edges, then brad nails all over to attach it. |
 |
 Here I am starting to wrap the top in solid oak. The oak is cut to be just wider than the top, so it can be trimmed flush. |
 I don't have clamps long enough to span the almost 6' long top, so I had to improvise. Since it won't be visible after the oak is applied, I screwed these blocks into the side to give a short clamp something to grab. |
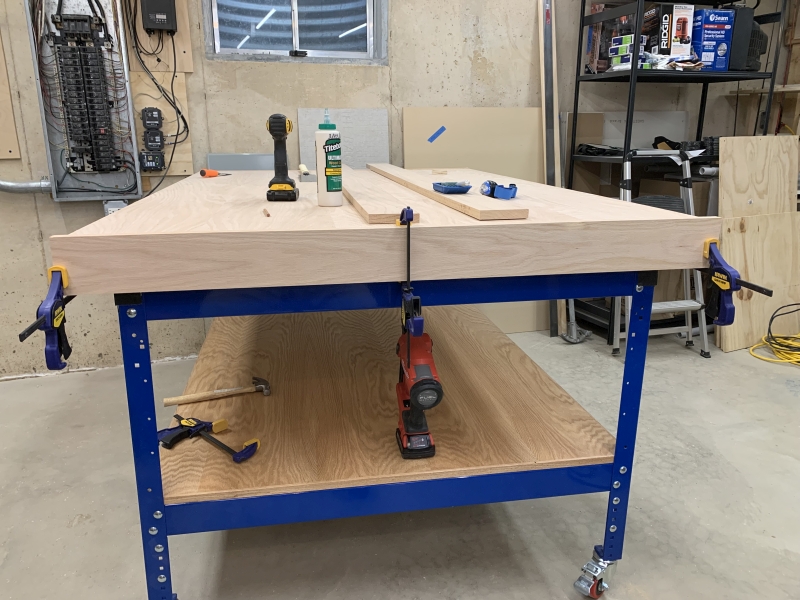 Since the oak is heavy I need to hold it in place while I nailed it on. The center clamp was there to hold the middle while I clamped the ends. |
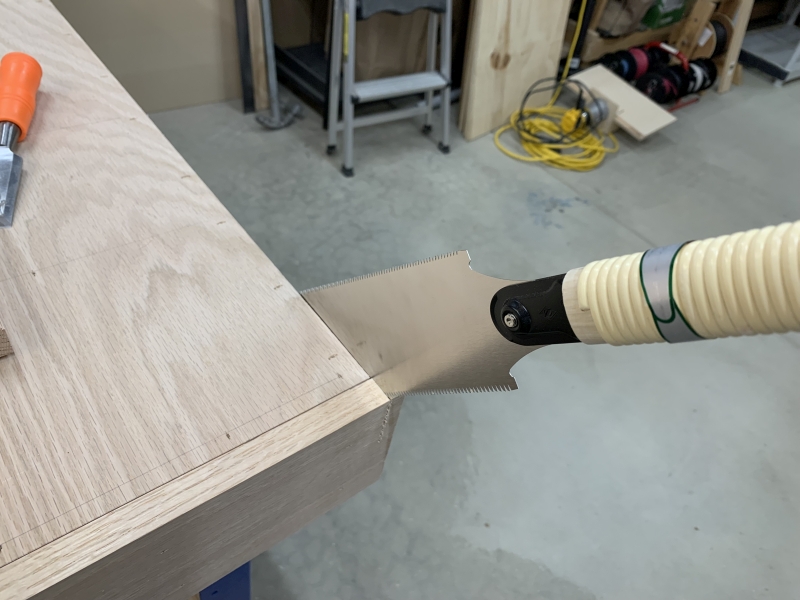 I trimmed the ends using a Japanese pull saw. It is very thin and flexible, and does a great job of cutting flush. |
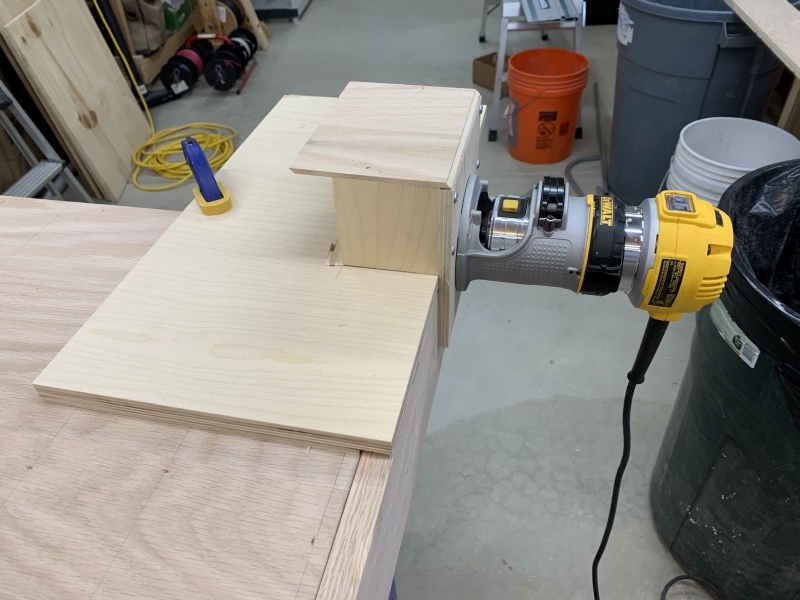 To solve the issue of flush trimming the top and bottom edges, I made this jig to hold the router and give me a way to hold it 90° to the side. It sits flat on the plywood, leaving room for the bit to flush cut the oak. |
 It's a little sketchy, but it works. Realistically for something this wide I could have stood the top on edge and there would be enough surface for the router to ride on. But moving the top is problematic because of its size and weight. I can use it in the future for putting edge banding on narrow shelves. |
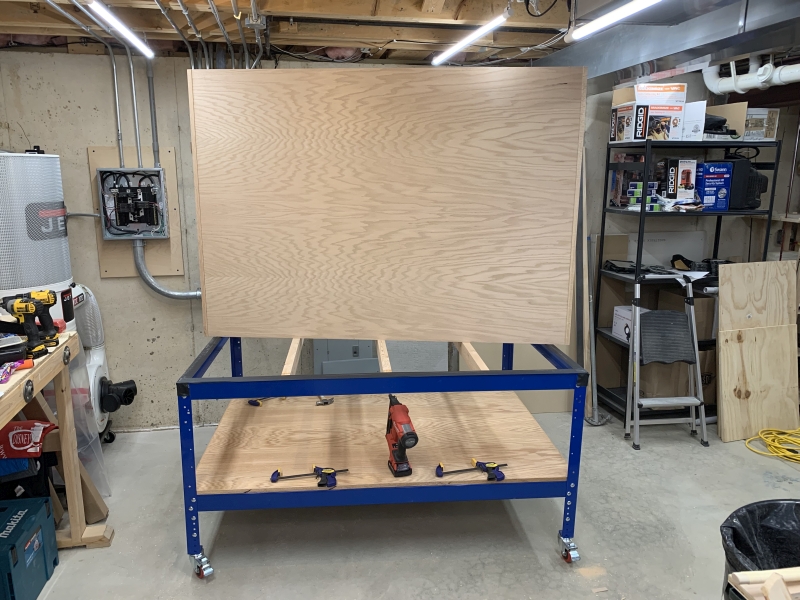 I did have to flip the top several times to trim the edges. This was challenging because it weighs a ton and is so large. I had put gaffer's tape on top of the blue frame to keep from scraping up the plywood. It served a better purpose in keeping this from sliding as I tipped it up and lowered it down. |
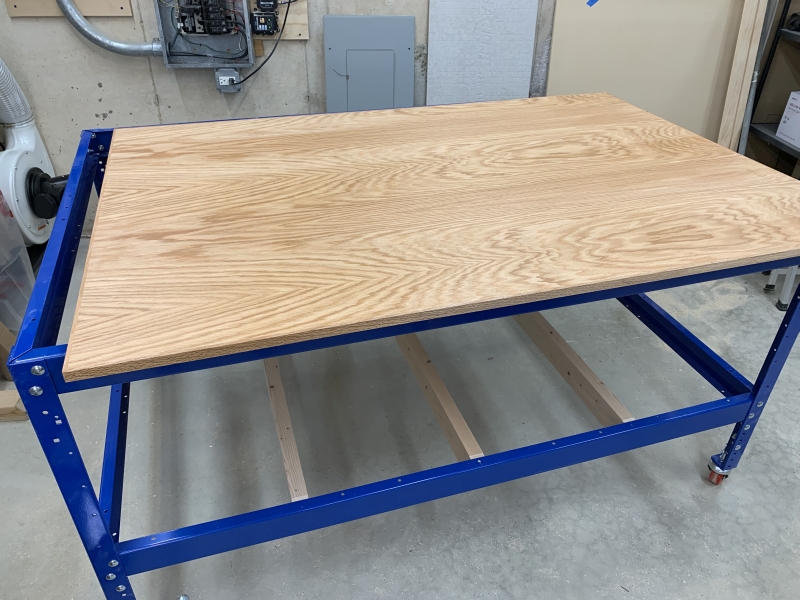
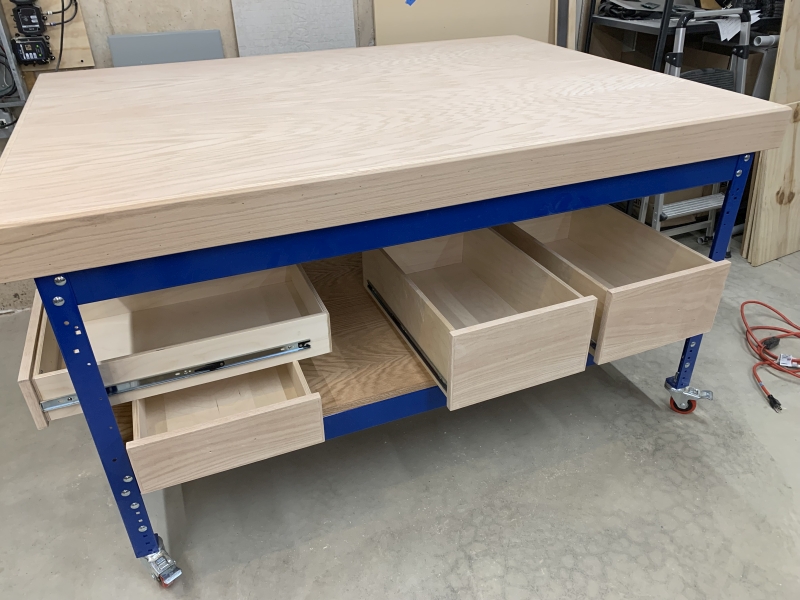
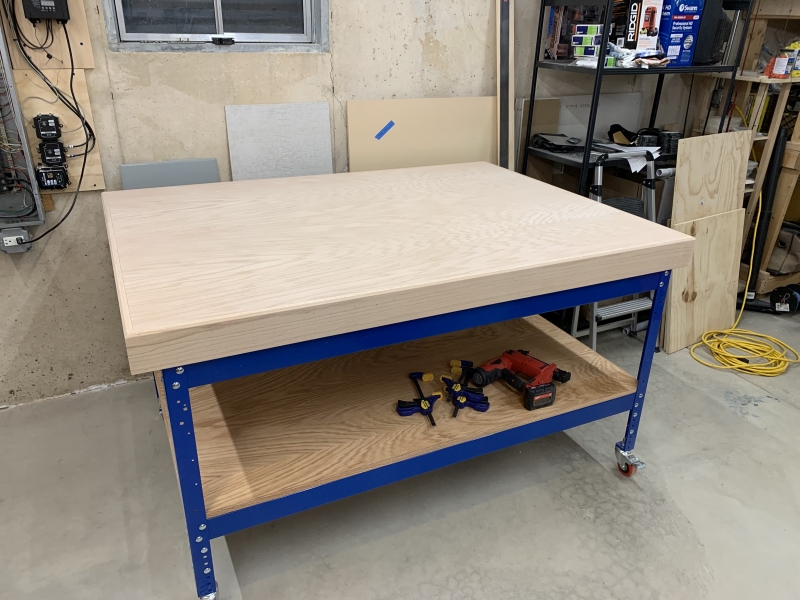 The completed top in place. |
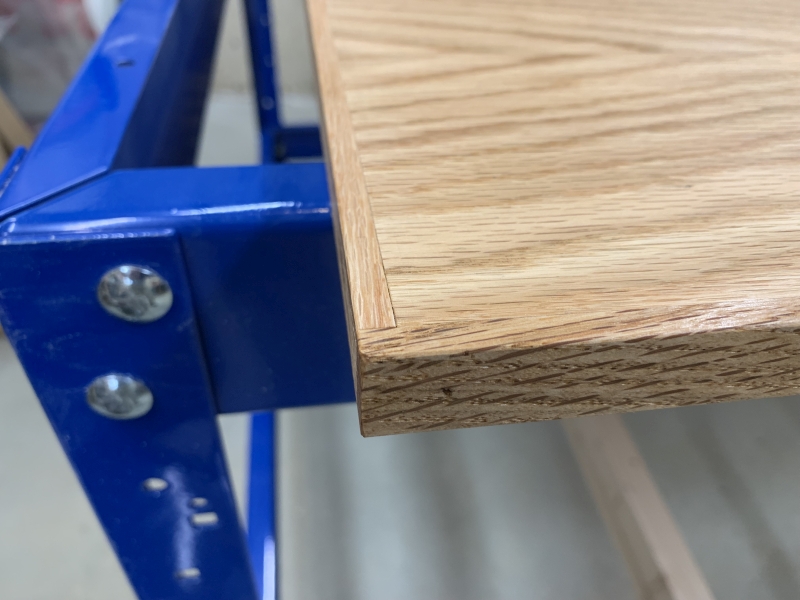
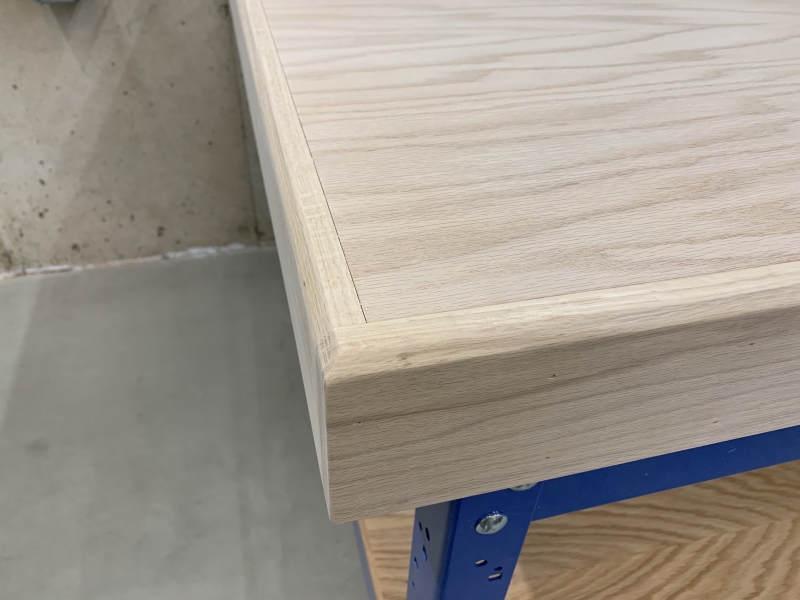 Close up of the oak banding with a chamfer. |
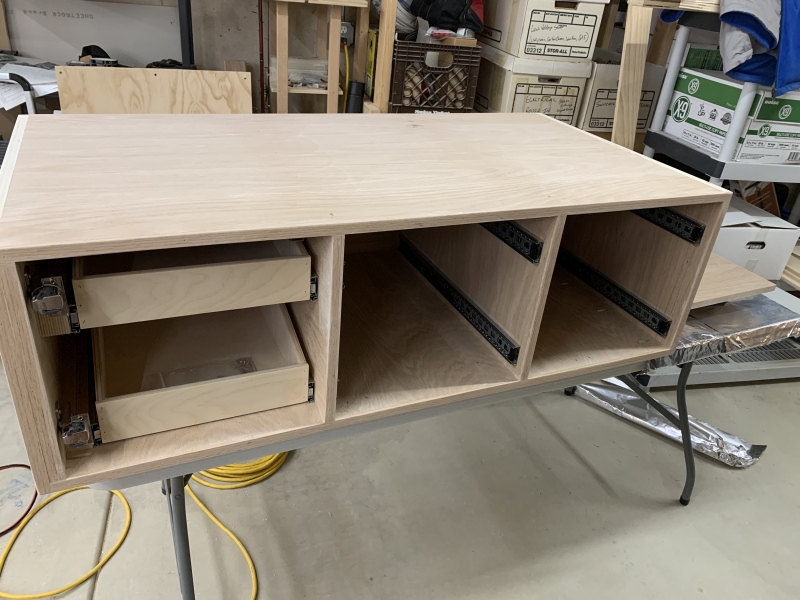 For the shelf underneath, I needed some storage and some open areas. I built this cabinet. Four drawers on the right and a door on the left. But since it is 24" deep, I realized I needed pullout trays on the left side. |
 All sanded and ready for finish. |
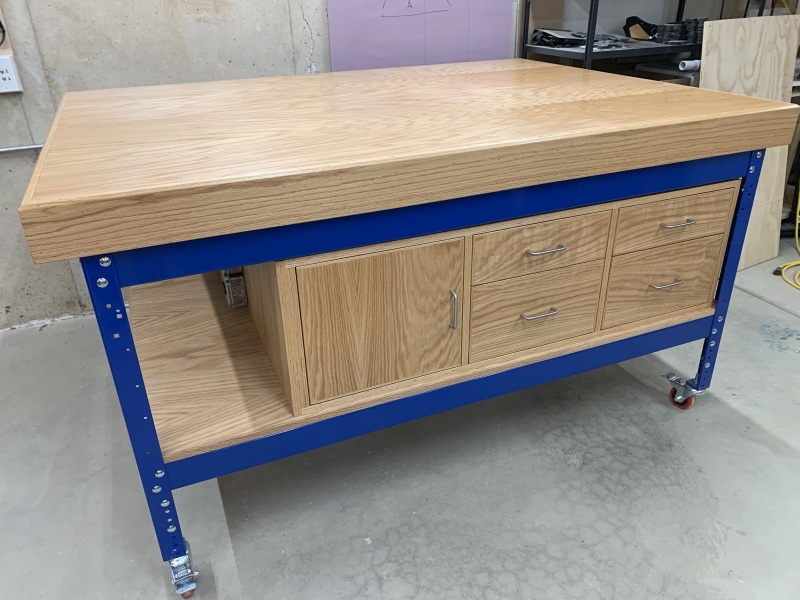 Finished. I should have gone against tradition and had the grain on the door run horizontally to match the drawers. I also used these brushed nickel handles, but will likely replace them with oak ones I will make in the future. |
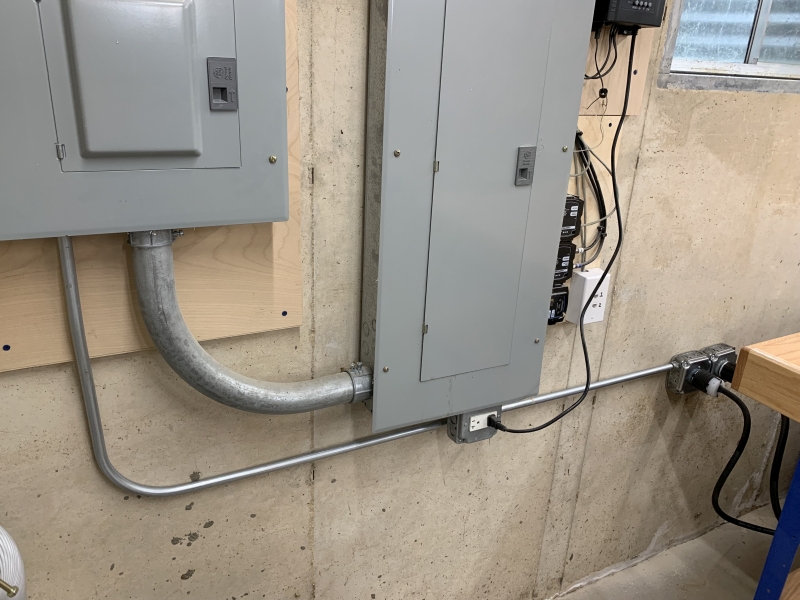 I needed to add some electric circuits for the CNC. I added two 220v circuits from the subpanel to the wall behind the workbench. |
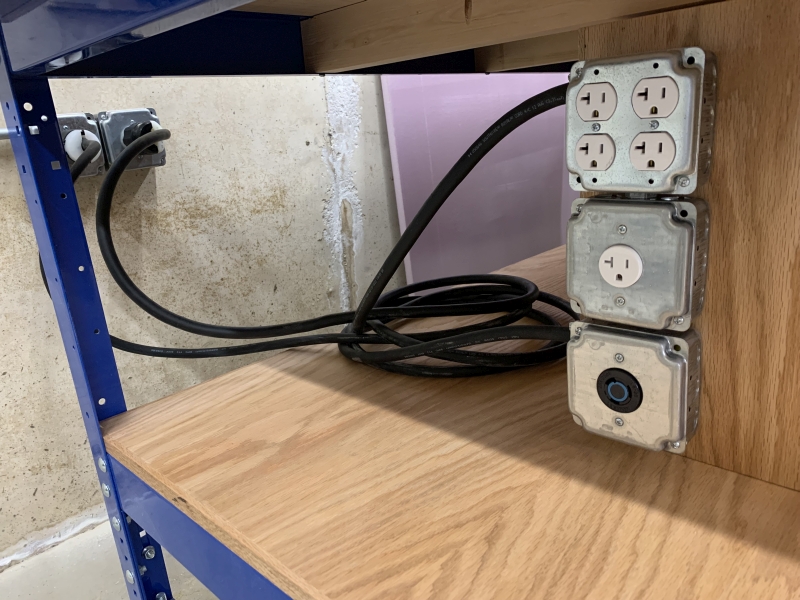 I assembled these cords so the workbench can be moved without unplugging everything. The top two boxes are one of the 220v circuits split into two 110v circuits. The top quad is for the monitor, router, and eventually a water pump for a spindle. The middle outlet is dedicated to the CNC Controller, which doesn't like interference from other devices (like a router motor). The bottom box is a 220v circuit for a water-cooled spindle which will replace the small router the CNC uses. |