Click on any picture to open a slideshow. Once there, you can click the link in the for the full-size picture.
This project started out with a goal of replacing the cabinet doors. While researching that, I did look at unfinished cabinets from Menard's and Lowes, but those were just as cheap as the cabinets we had and only available with thin flat panel doors. Not the look or feel we wanted. So I priced out all the doors with the intention of putting on new doors and refacing the cabinets. I was almost ready to order when the snowball started rolling... I then priced all new cabinets at Home Depot, and it wasn't that much more expensive. Ha! Of course, once we decided to go that route we started looking at different options for the corner cabinets. The ones we liked for the uppers, with glass, were more expensive...and of course the glass we chose was even more. Then the lower corners we picked out were even more...but hey, when you look at the difference for each one it's not that bad, right? Ha! And in the back of your mind you're thinking "You'll regret it for a long time if you don't do it now!" Hmmmm.
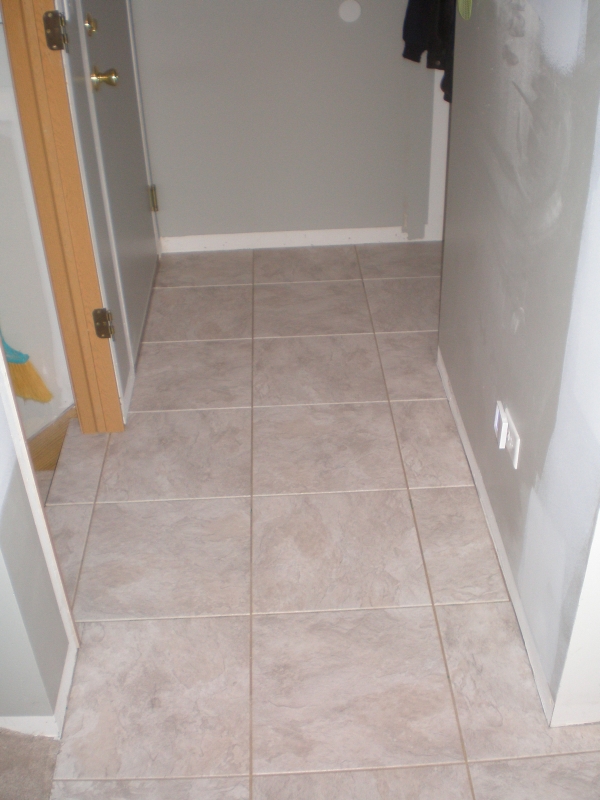
Since we were now getting all new cabinets, you know I wanted to take the opportunity to change out the floor, right? The eating area was carpeted, which we always hated anyway, and what vinyl tile was there was ugly. Of course that tile was also in the powder room and garage hallway too, so you have to replace all of it, right? Then you just know the flooring we like is on the expensive side! Especially since that is one job I did not want to tackle myself. So now we have a new floor too!
At some point I started looking at the doors and "wood" trim and started hating it even more. The trim was pressed wood with a plastic woodgrain veneer and the doors were hollow core with the same fake wood faces. Since I wanted to replace the baseboard in the kitchen once the new floor went in, it would look bad if that trim was next to the crappy doors, right? Uh huh! So now I was buying 6-panel oak doors, and oak trim for the entire first floor of the house!
With all new cabinets, floor, and doors you know I wouldn't be putting that old, ugly laminate countertop back in, right? Of couse not! So we looked at all the options. We really liked granite ($$$), we liked the look of some of the composites ($$$$), and yes we even picked out a laminate ($) we could live with. We almost went that route too, figuring we could change the countertops out in a couple years without having to do anything else in the kitchen. But the more I thought about it the more I wanted to just do the whole thing right the one time. I was already in for way more than planned, why not keep going?
Which led to...you know it, all new appliances! We had a black fridge, black microwave, black & white stove, and all-white dishwasher. So at the very least we wanted everything to match. But of course we couldn't just stick with basic stuff, not once we looked at some of the options! So we got the stainless French Door, bottom-freezer fridge that we always wanted, and the matching stove, dishwasher (with stainless interior, of course!), and microwave. I even found a GE Profile telephone on clearance at Home Depot that matches everything!
Ultimately, the kitchen turned out beautiful! We are very pleased. I'm proud that I did almost all of the work myself, and in only 2 months. We managed to live through the construction and survive without the second most important room in the house! On with the pictures!
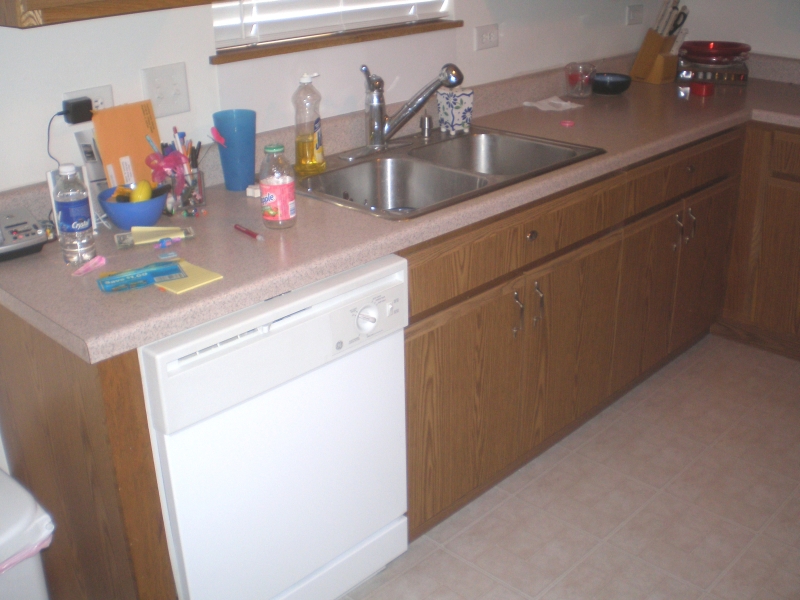
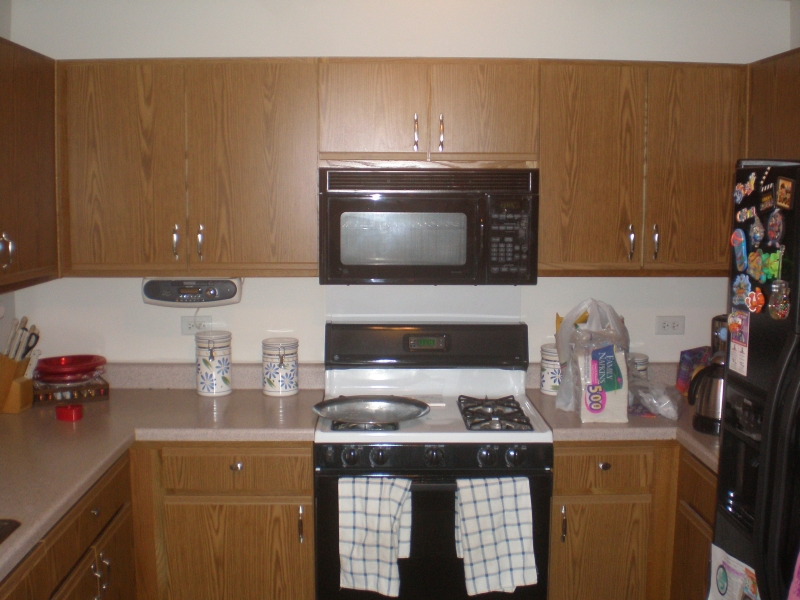
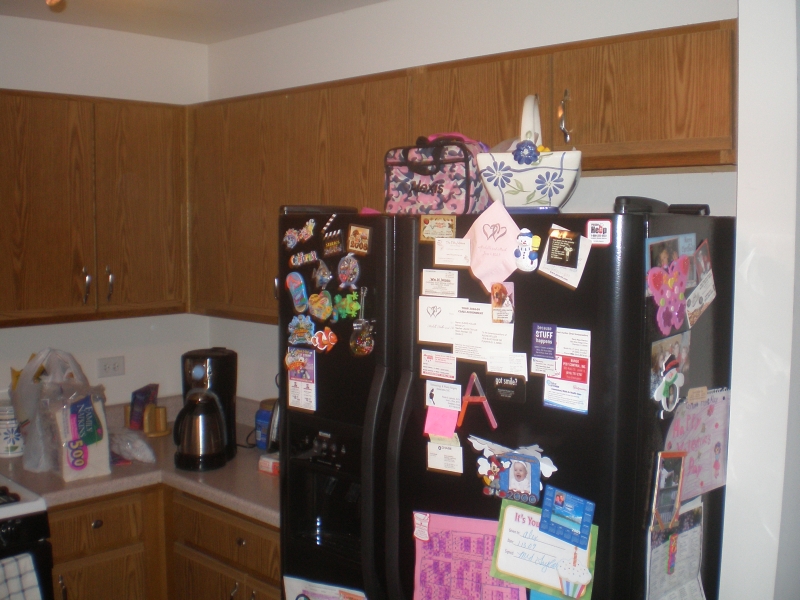
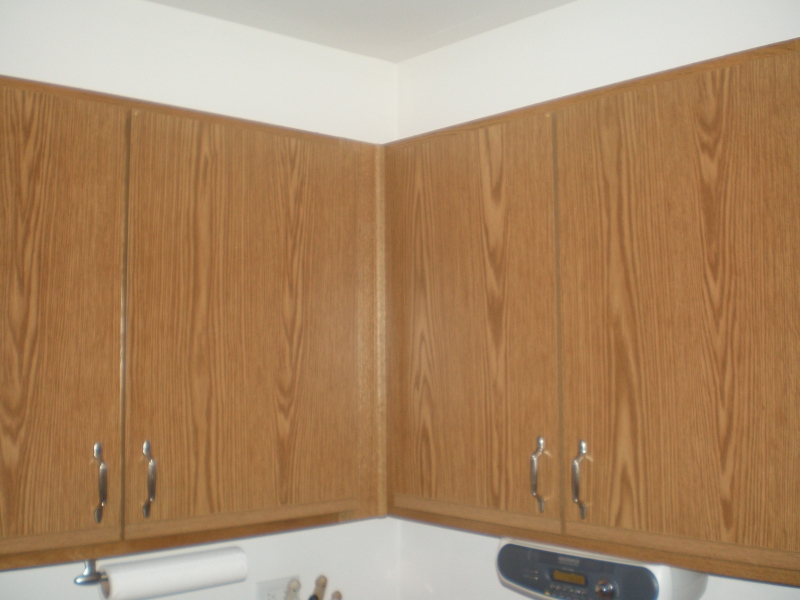
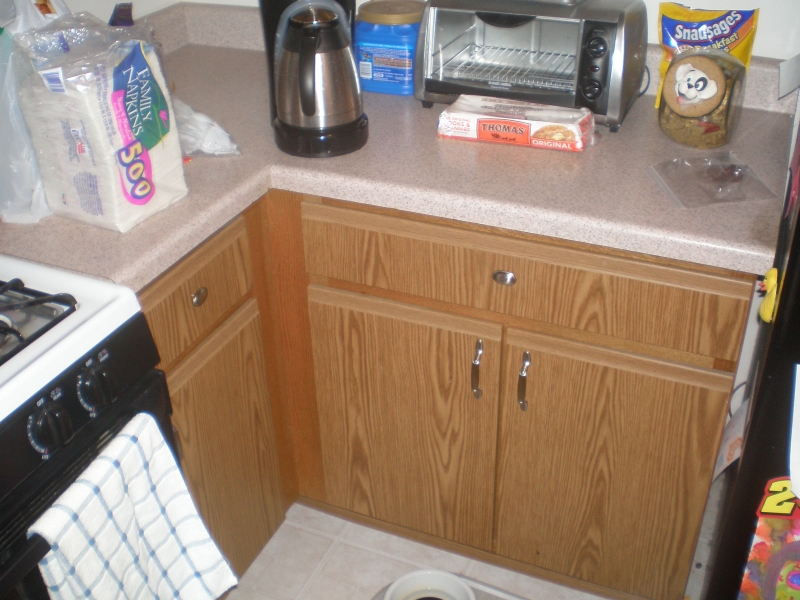
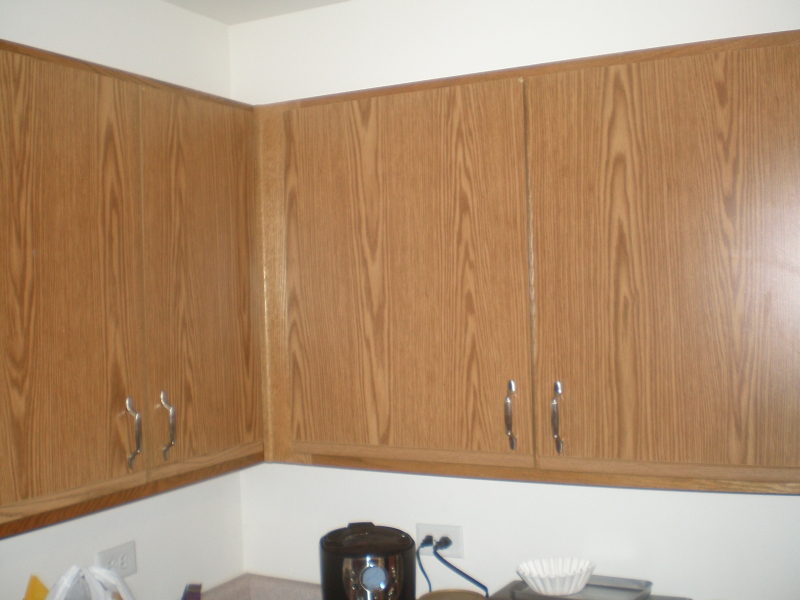
Before Pictures
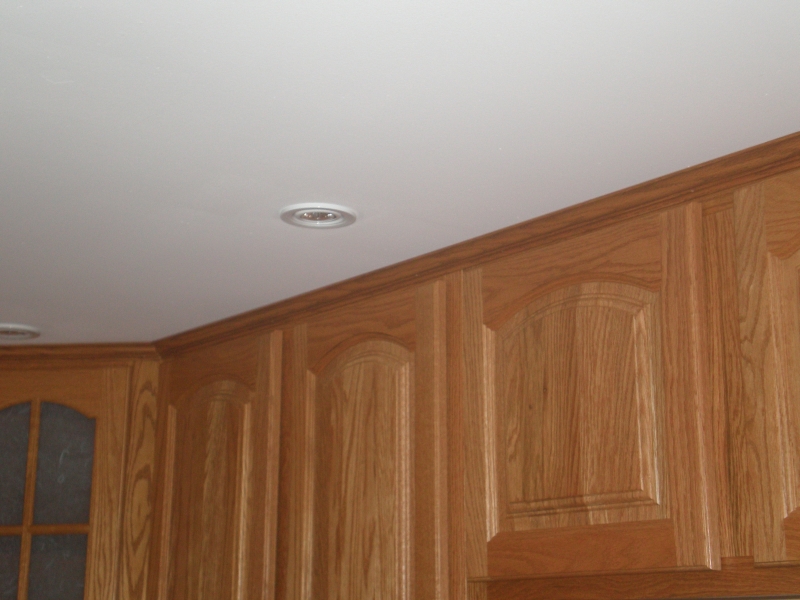
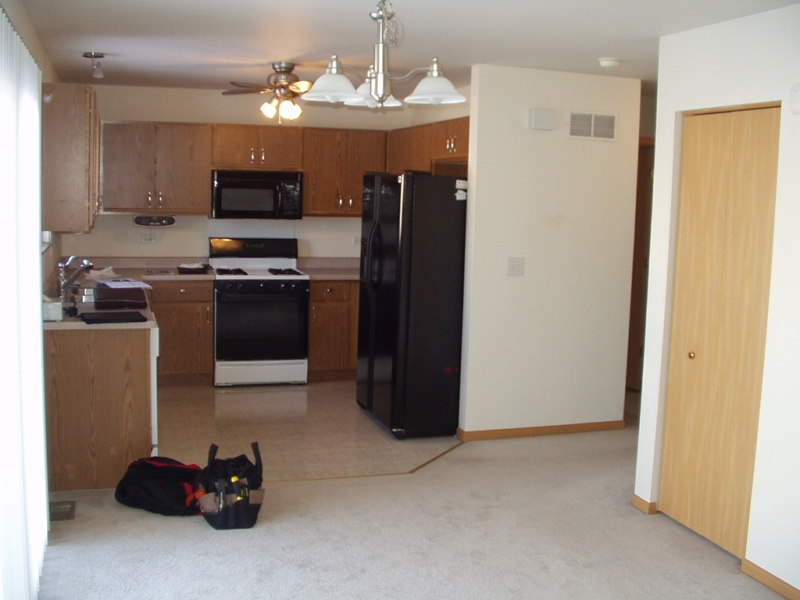 This picture is actually during the home inspection. |
 |
 |
 |
 |
 |
 |
 |
 |
 |
 |
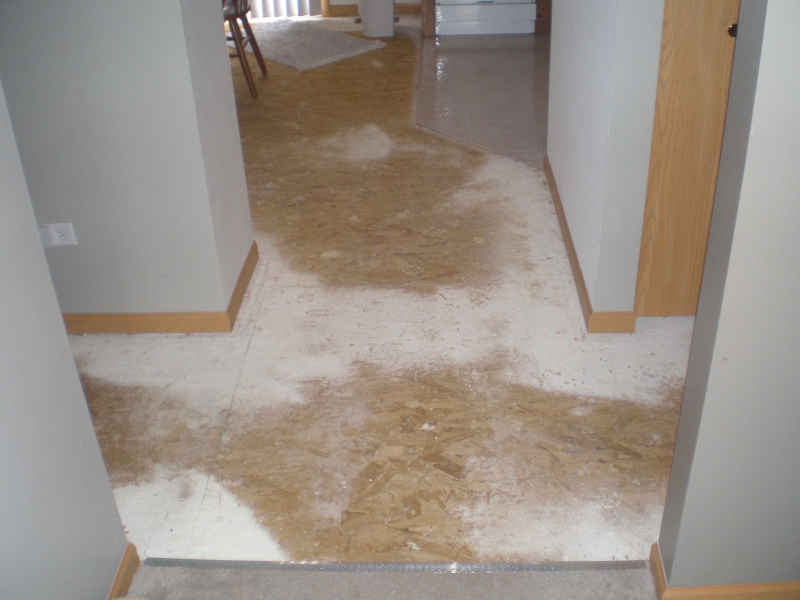 The carpet is already gone. I still have to remove all the base molding and door trim. FCA was out to measure the floor, we should have that ordered by the weekend. We're hoping to have that installed March 10th & 11th. |
 |
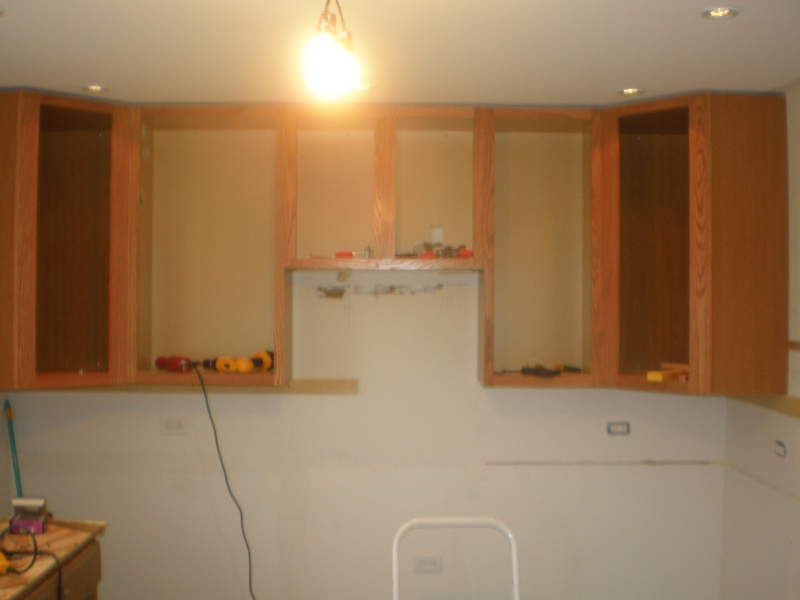
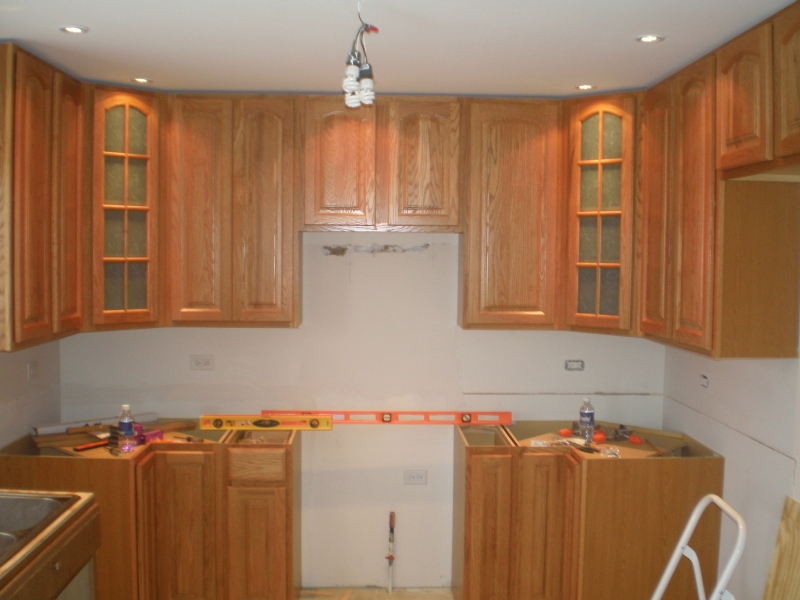
Construction
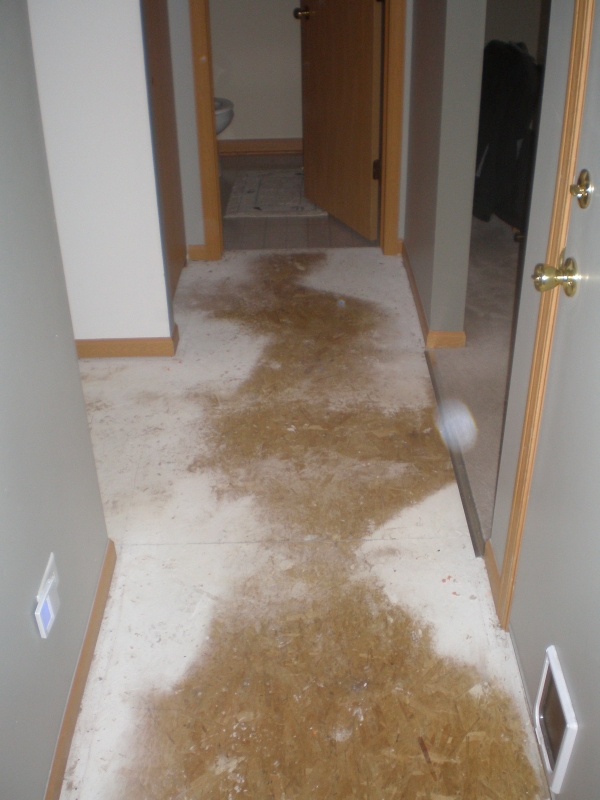
 I needed to remove the vinyl tile floor and the underlayment. Started by removing cabinets. |
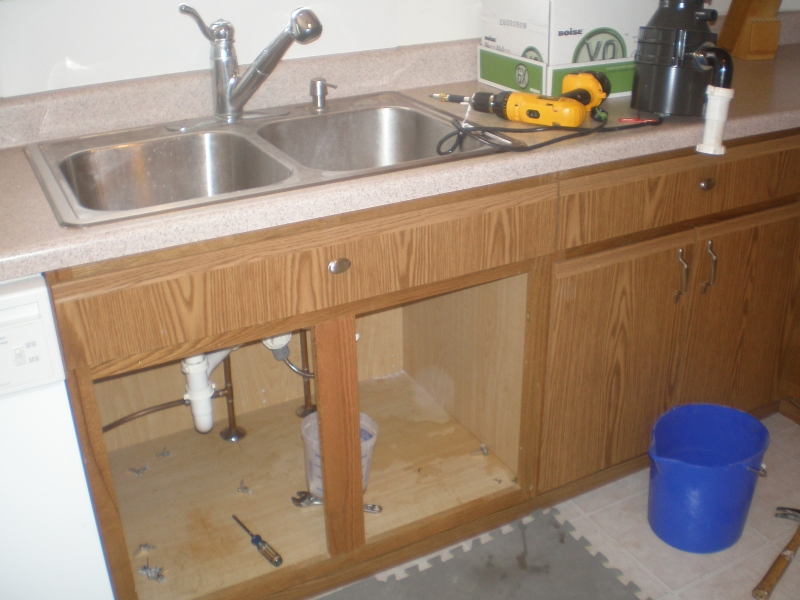 Disconnected the plumbing under the sink. I will need to remove this sink and put it back several times. So I put additional shut-offs in the supply lines in the basement, and the disconnectable fittings in the supply lines that come straight up through the floor and cabinet. |
 Here half of the tile and underlayment are gone. The underlayment was cheap luan plywood, which tore easily, but it was put in with a million staples. So I cut the floor in smaller sections, tore it up, then had to hammer down all the staples. There were way too many to pull them. |
 The sink side walls apparently were not as square as the other side. There was a lot of caulk used on the end of the countertop, and they had to shave the drywall in a few places. It was clearly done by an amateur - probably the previous homeowner. They used a yardstick to fill some of the gap. |
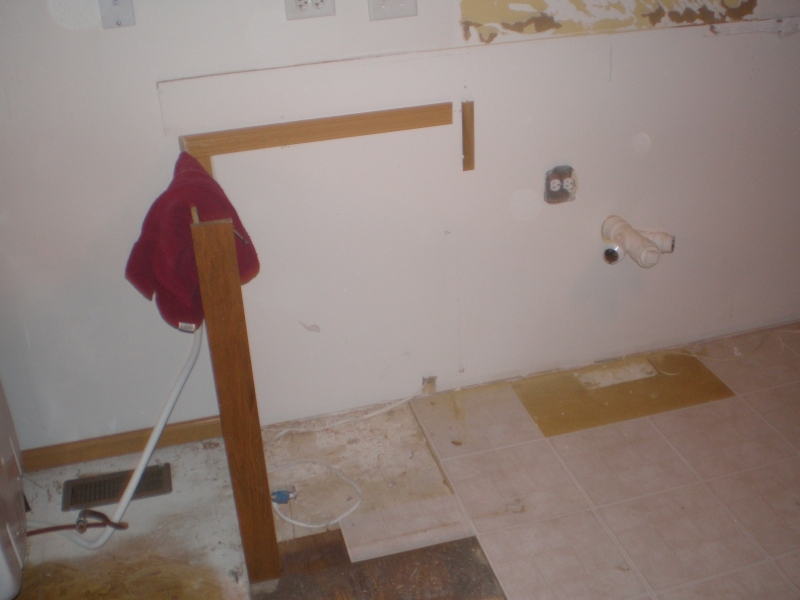 Here's where the dishwasher was. They used door casing to support the countertop. |
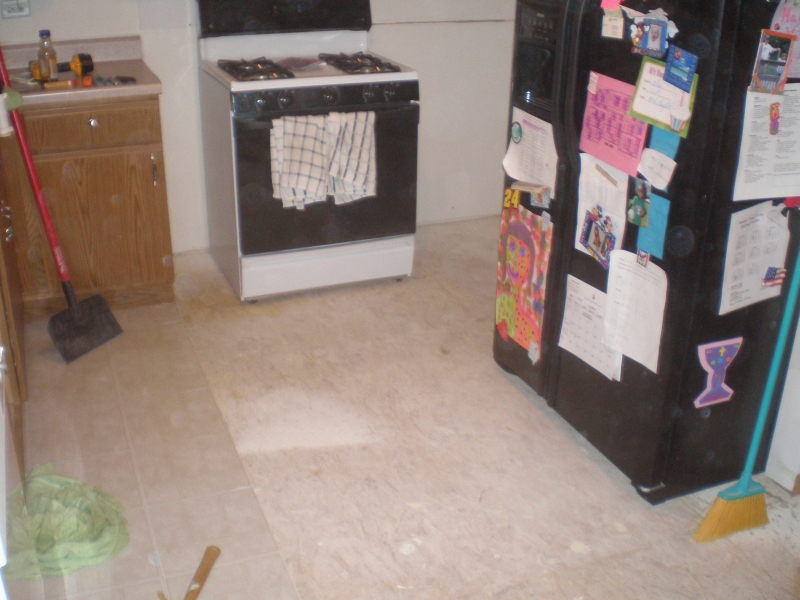
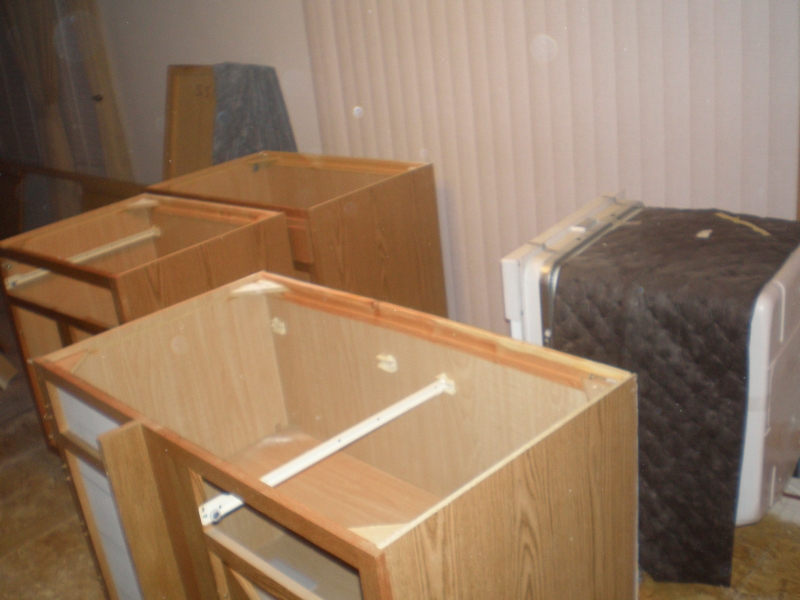 Here are those cabinets sitting in the table area while I ripped that side of the floor up. When I was done, I put all the cabinets back and put the countertop back on. |
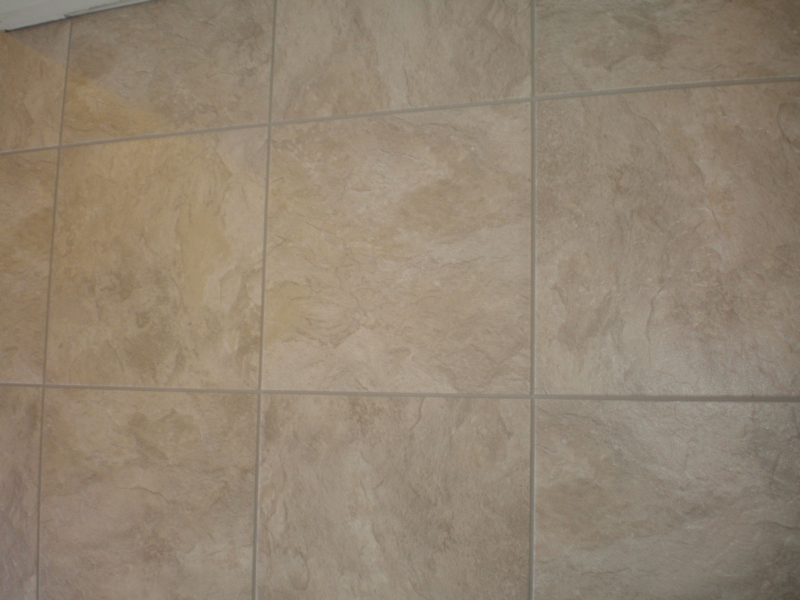
 3/3 - The tile has been ordered. Congoleum DuraCeramic. It's a vinyl composite tile - it is a limestone composite with a vinyl surface. It glues down like vinyl, but can be grouted like ceramic. We chose a pewter grout. It should be installed in the next couple weeks. 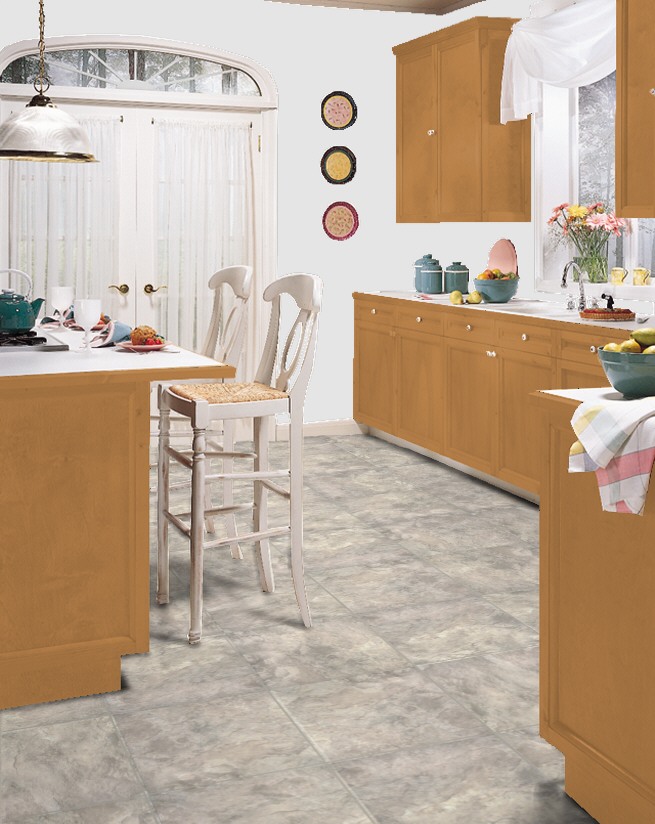 Here's a representation from their website. |
Cabinets should be ordered this week. We're also deciding on lighting. I'm going to be adding 3" or 4" halogen recessed lights as task lighting. Like these:  And I will change the fan/light combo in the center to just a light fixture. Like this: 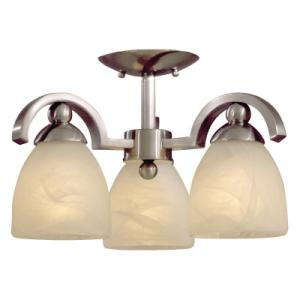
|
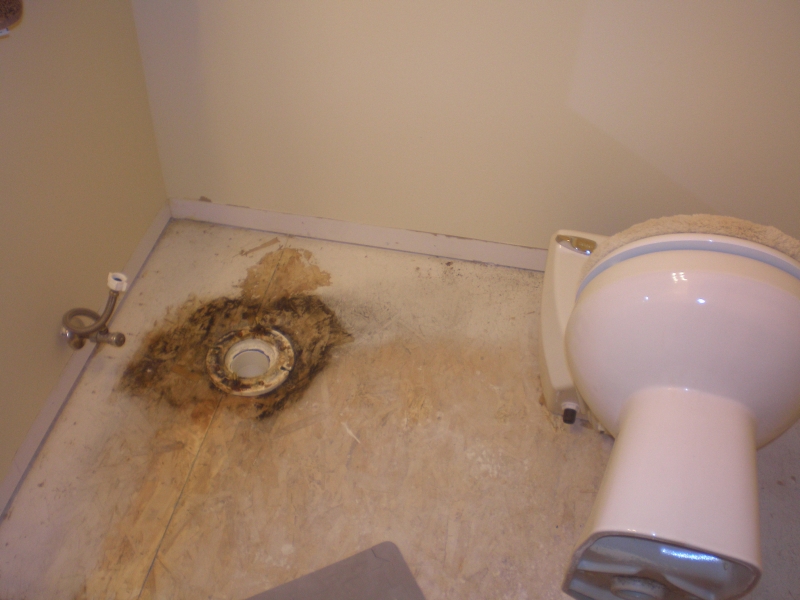 3/05 - Removed the powder room floor and trim tonight. I forgot how well I installed the vanity last year - I caulked the top to the cabinet. I might have some paint to touch up when I reinstall it after the floor goes down. I also decided to go ahead and change the door out since I am replacing all three closet doors and all the wood trim on the first floor. |
 3/05 - Evidence of some prior leakage. It wasn't wet, so I suspect this happened from the time the house was built up until last year when I had the toilet off to paint and do new trim. Luckily, no real damage was done. |
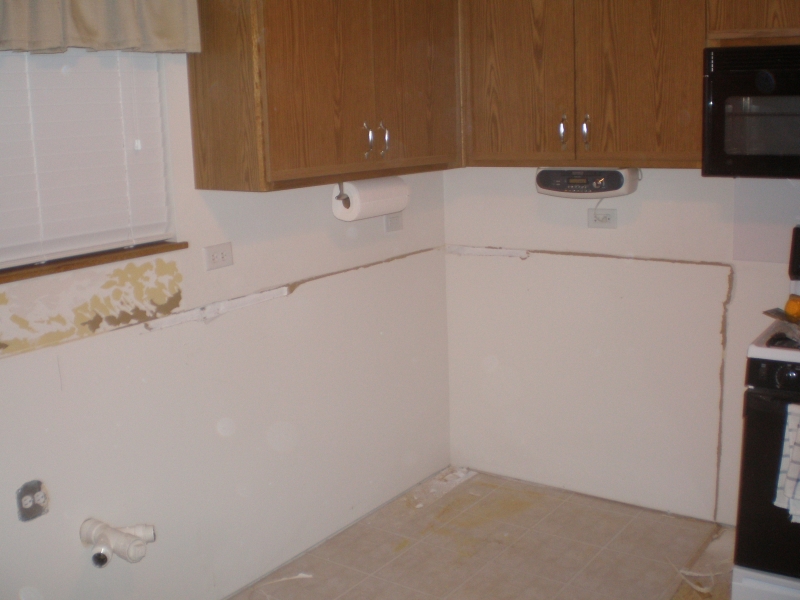
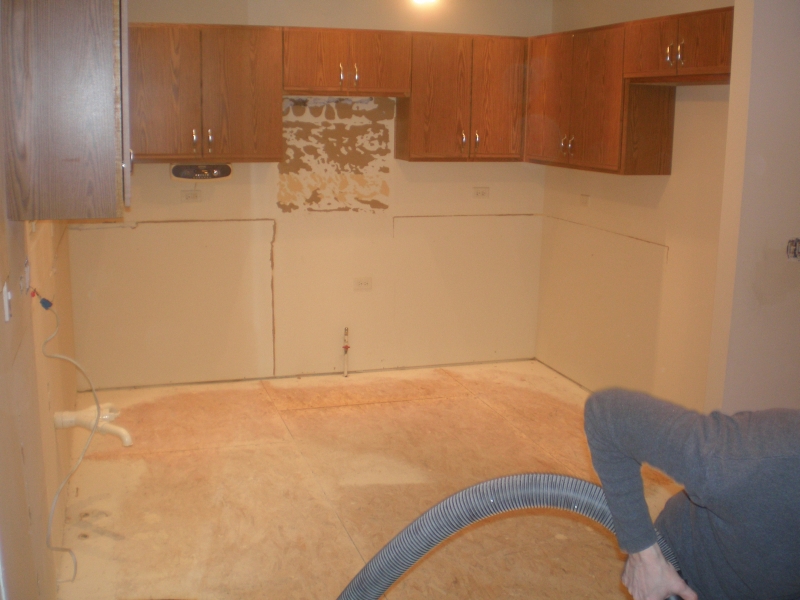
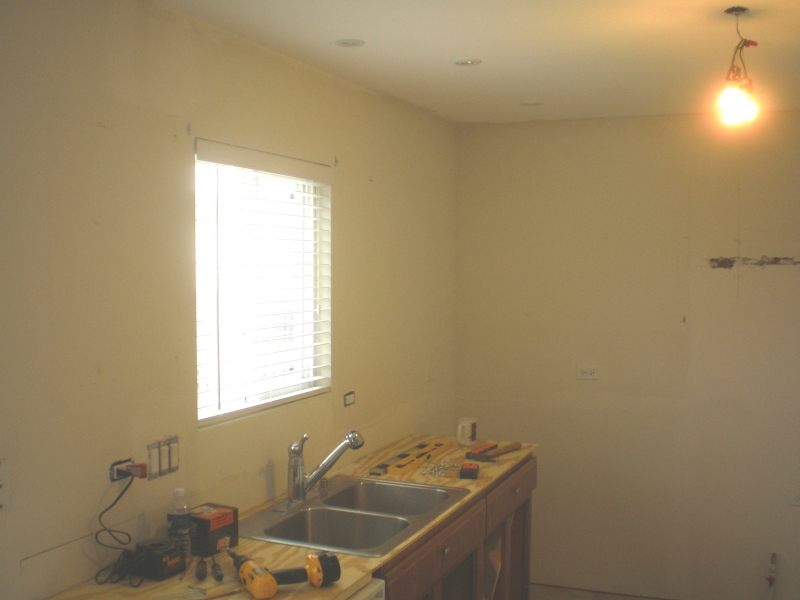
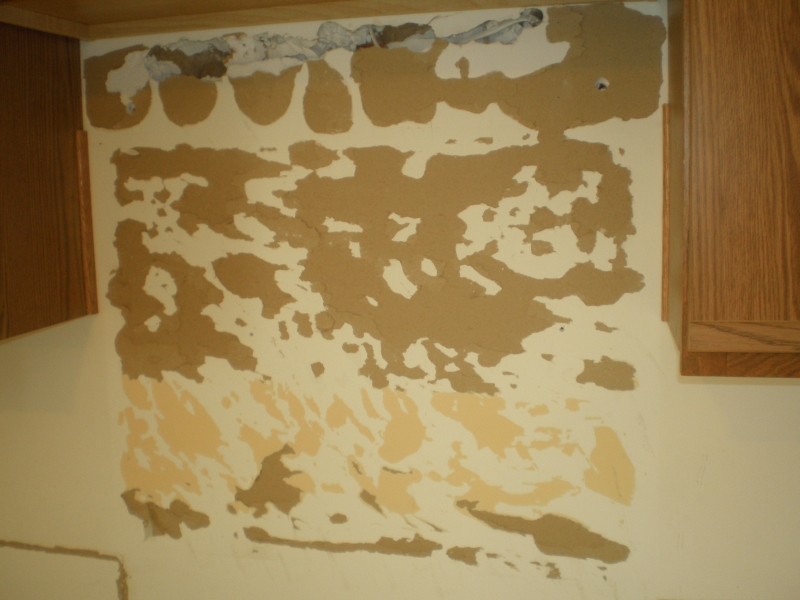 3/15 - Took the microwave down so I could remove the "backsplash". The previous homeowner installed a SIGN as a backsplash. Of course it was glued on, so it took most of the wall surface with it. |
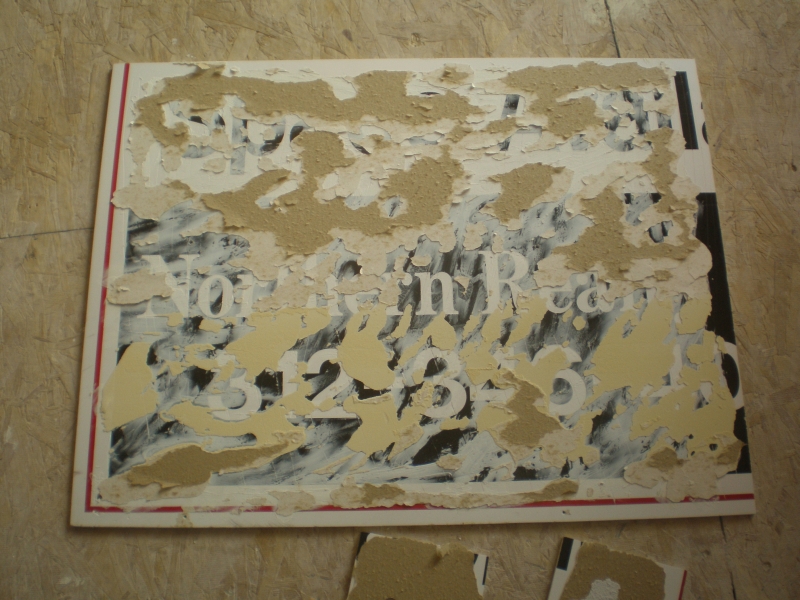 3/15 - Here's Your Sign! What a moron! This is 1/4" thick, some sort of plastic type material. It is an outdoor sign. If you can't read it, it says "Space Available - Northern Realty Group" and has the phone number. I did a search, it's some outfit downtown, but might not be around anymore. |
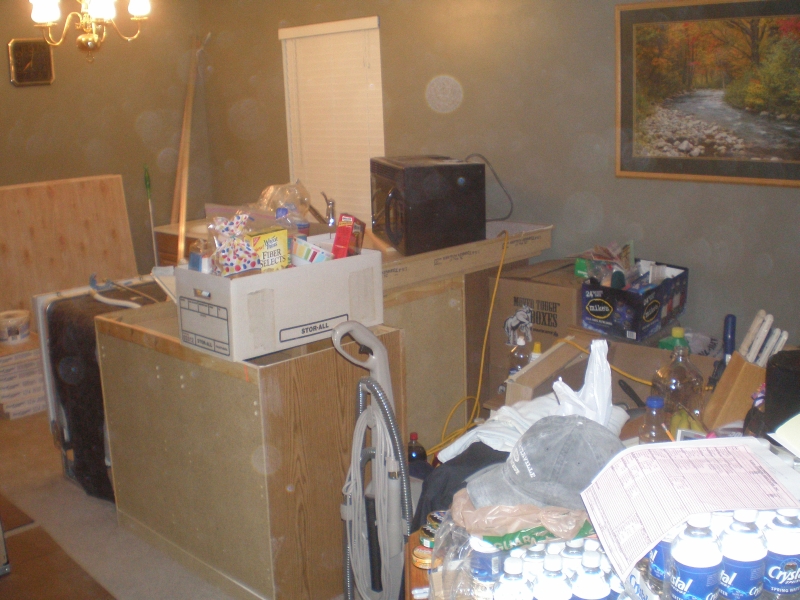 3/15 - With the floor going in tomorrow, most things are now in the living room. Most of the base cabinets and their contents, the microwave, fridge, and half of the stuff from the closets and pantry are in here. |
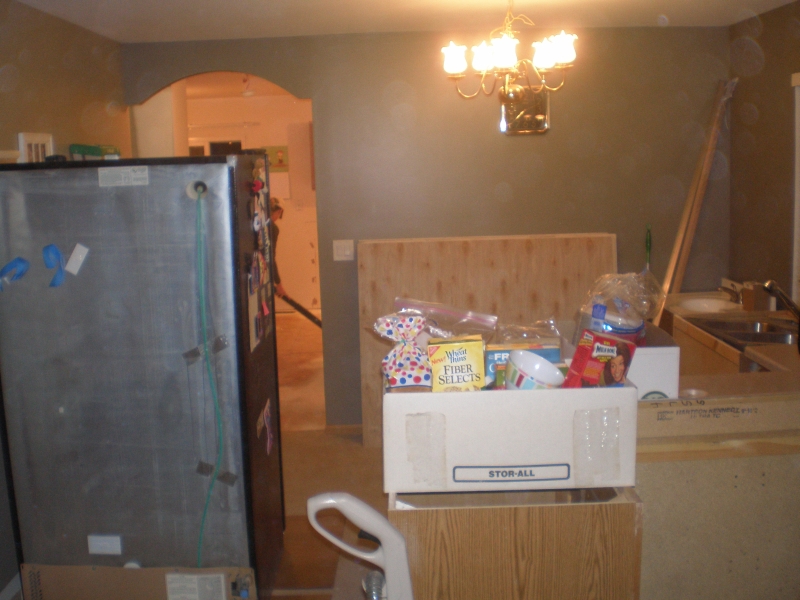 3/15 - The fridge is in the way, but it was easier than trying to turn it again, and there was an outlet handy. |
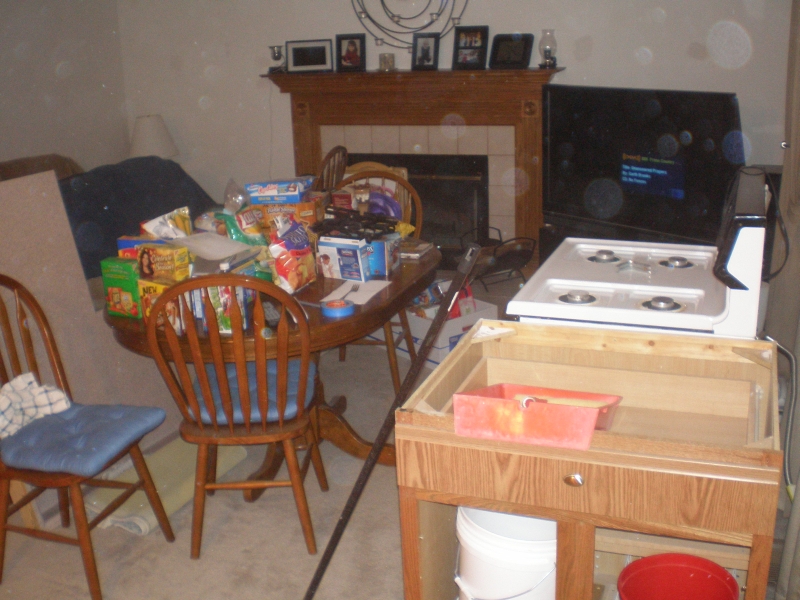 3/15 - The stove and the rest of the kitchen are in the family room. On the left in this photo is the large section of countertop. |
 3/15 - Finished the drywall repairs in the ceiling, then 2 coats of primer and 2 coats of paint. We're ready for the new floor. |
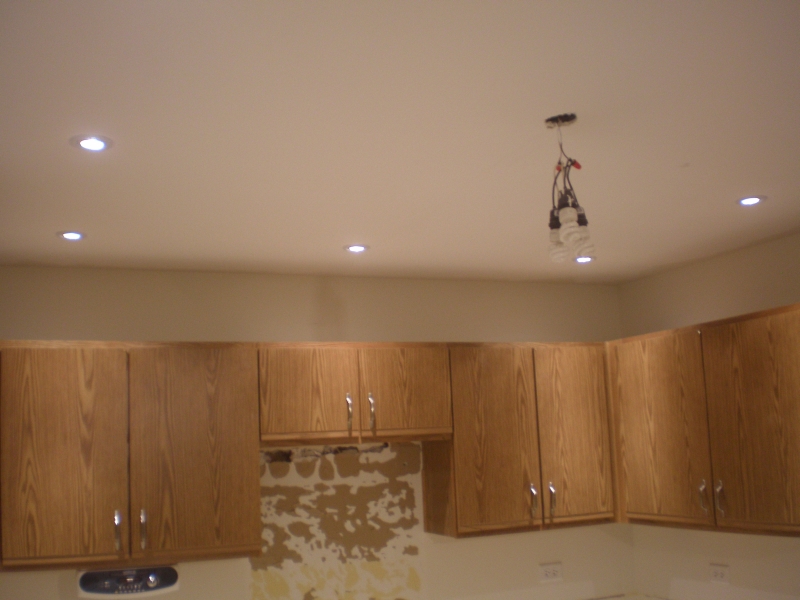 3/15 - Here are the new recessed lights lit up. I still haven't finished wiring them permanently, but needed to show the inlaws what they looked like. |
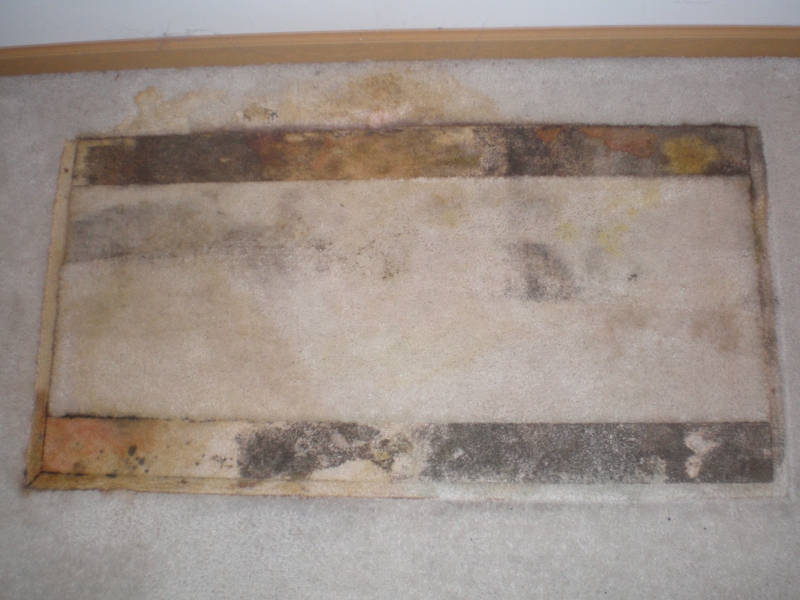 3/16 - Not construction related, but here's the damage done by the leaking fish tank. It obviously had been leaking for quite some time - maybe since I moved 2 years ago. This is permanently stained. |
 3/16 - Underlayment starting to get installed. |
 3/16 - After they got all the sheets cut and tacked down with a few staples, they went back and put staples every 3" in all directions. Thousands and thousands of staples. The guy would load the pneumatic stapler, and rapid fire until the gun was empty. Reload and repeat. For almost an hour. Bam, bam, bam, bam, bam..... It's hard to see, but if you look at the full-size picture and zoom in you can see them all. |
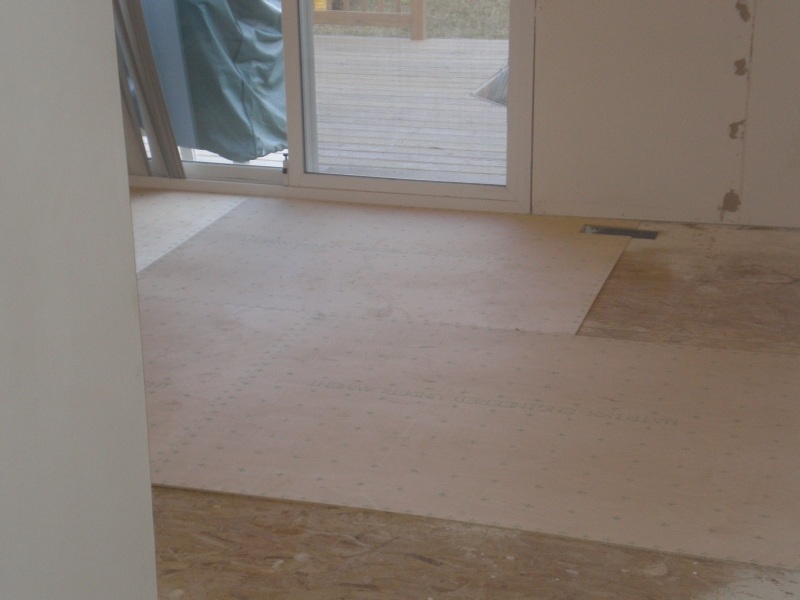
 3/16 - The glue has been spread and they're waiting for it to tack up. They spread glue on the entire floor at one time. The directions I read say do half at a time. I was wondering how the heck they were going to start laying tiles, since there are full tiles by the far wall and by the family room. I didn't notice the layout line running from the patio door to the pantry. They walked the boxes of tiles around to the deck and started there. |
 3/16 - All the tiles have been glued down. It took two guys almost 11 hours to get to this point today. Tomorrow they grout and the carpet guy comes to repull and tack the carpet by the family room and living room. The tile looks great. Most of these pictures make it look more brown than it is. It's more gray than brown. As the sun went down more of the color started showing. |
 3/16 - They did a good job of cutting around the walls. |
 3/16 - The layout worked out good. Full tiles by the patio door and family room. The cut pieces by the living room doorway only needed less than 2" cut off. |
 3/16 - Still looks more brown than in person. These are 3/16" grout lines. When the grout goes in they might end up slightly larger due to the slope of the tile edges. |
 3/16 - This is probably the best representation of the actual color. Because the tiles are layed in alternating directions, it looks more like real slate and less repetitive. |
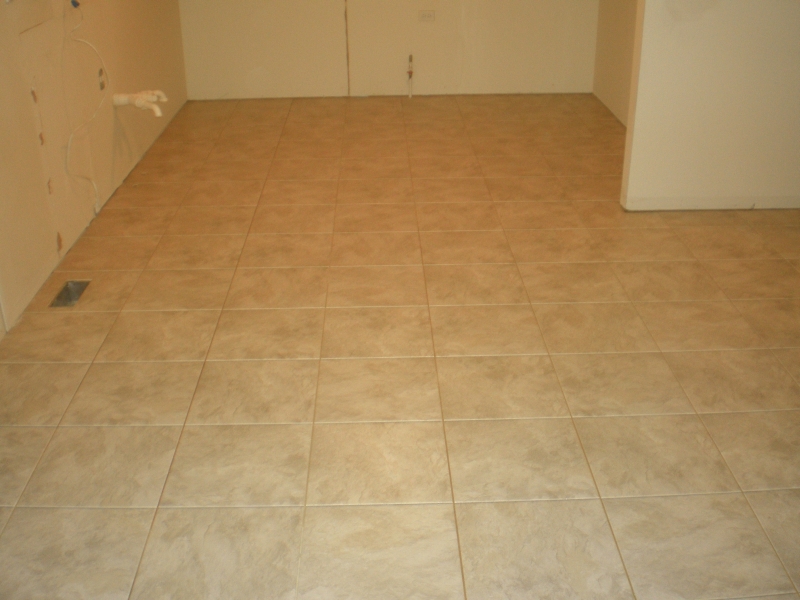
 3/17 - The floor is finished. The grout looks great. |
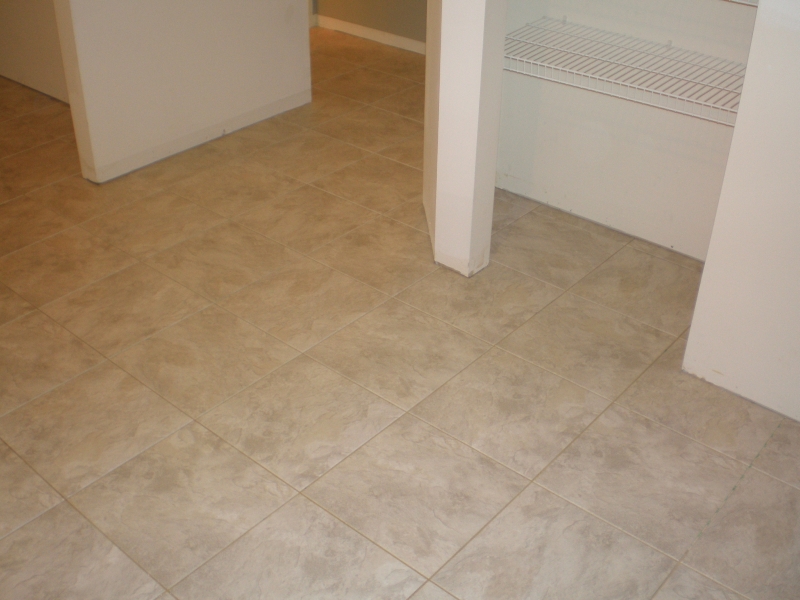
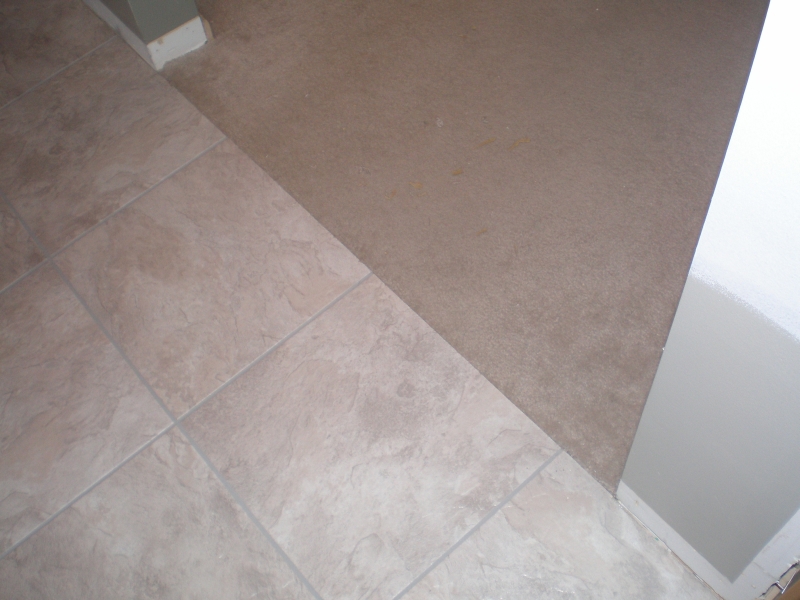 3/17 - We ended up not using the oak transition strips. They were too tall. So the carpet was tucked and tacked against the edge of the tile. Now the carpet really looks bad - it's really dirty. |
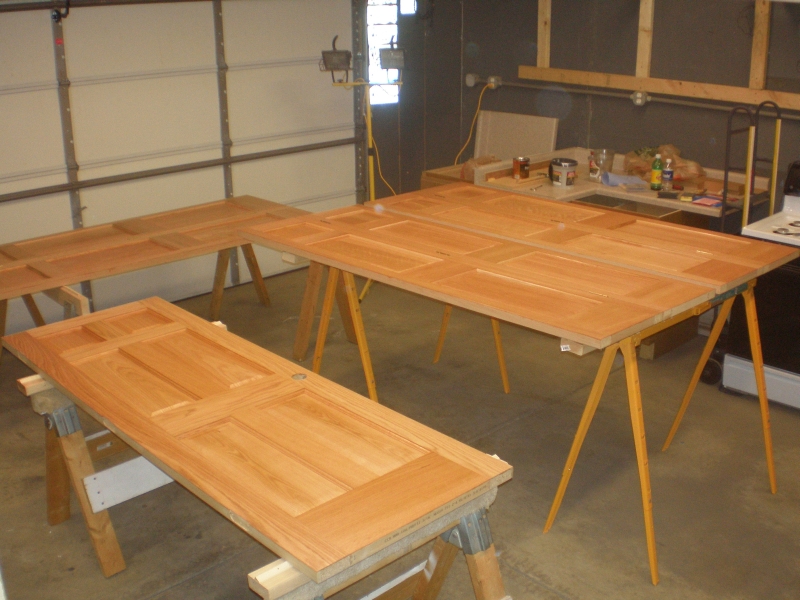 3/25 - Two coats of polyurethane on the back sides of the doors. Still haven't purchased the casing and base moldings. I don't have room to finish it all at one time anyway! |
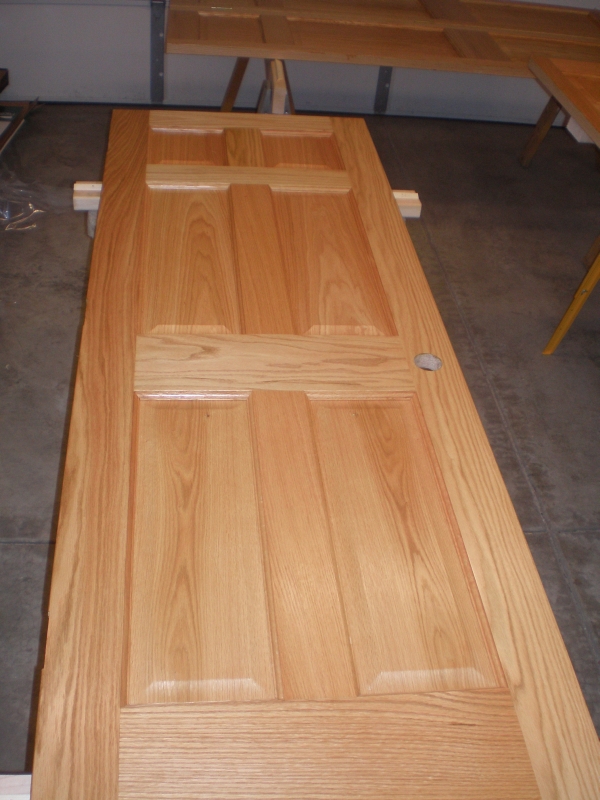 3/25 - The new bathroom door. Eventually all the doors on the 2nd floor will be changed to these too. |
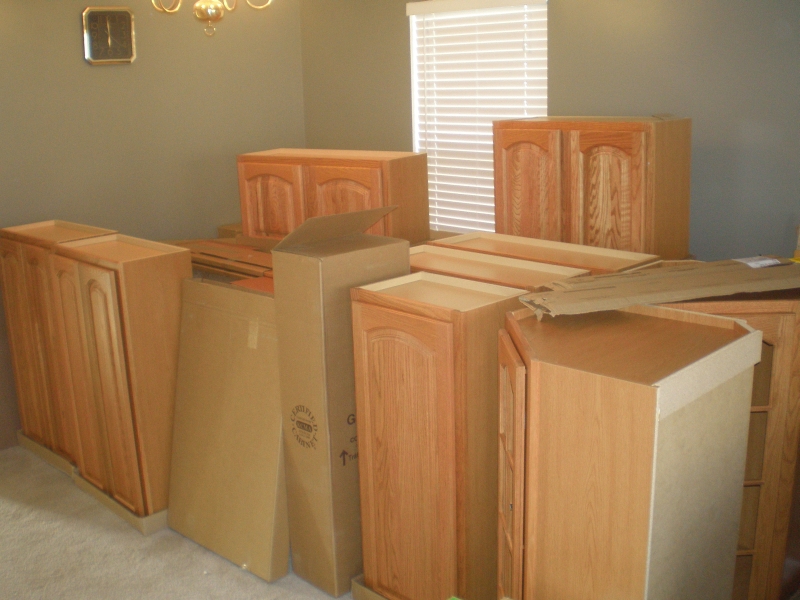 3/26 - We have cabinets!! 17 of them, to be exact. It took me a couple hours to unbox them all and inspect them. |
 3/26 - Everything on the order arrived. The only "damage" is a dent and what looks like a nail hole in the dishwasher end panel. There are some issues however. . . . |
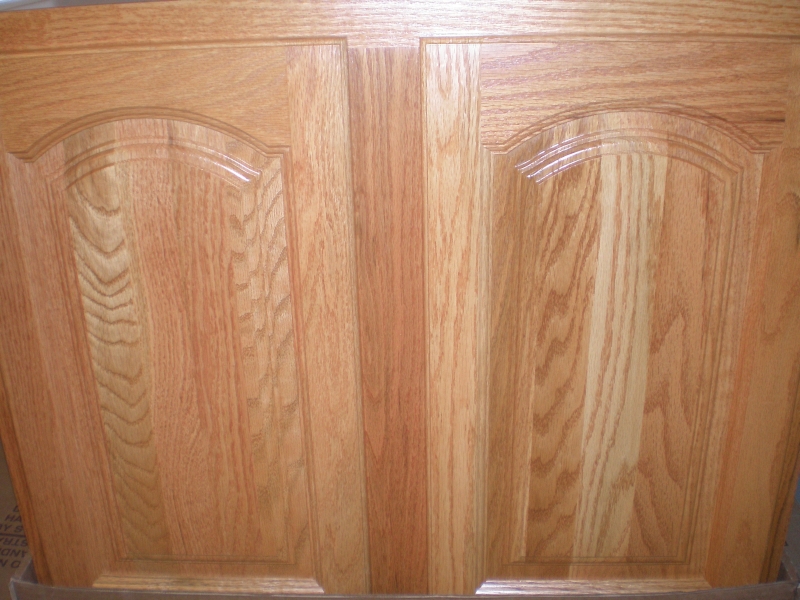 3/26 - This is the cabinet that goes over the microwave. I'm not terribly happy with the choice of wood on the panels in these doors. I understand it is wood and there are variations in grain and color, but these don't look so good. But they look ok compared to. . . . |
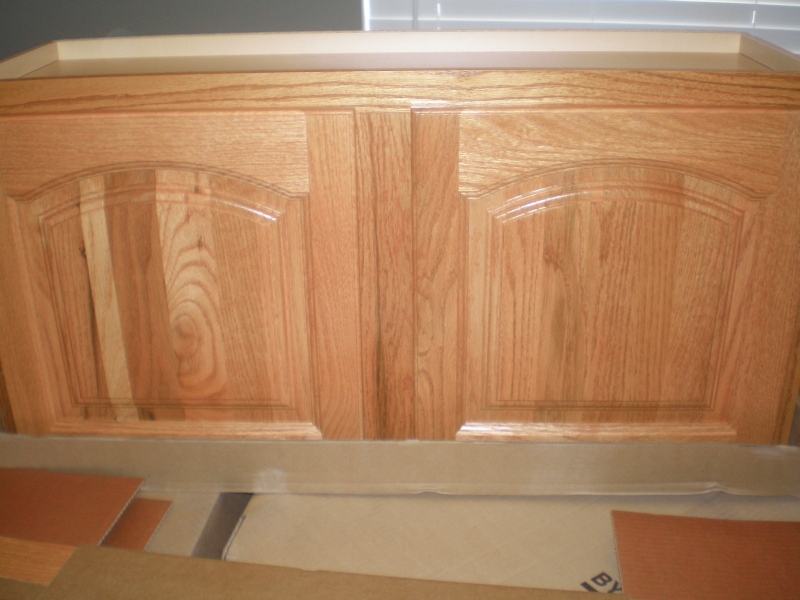 3/26 - The cabinet that goes over the fridge. That left door is terrible. That never should have been made into a panel. This one is absolutely not acceptable. |
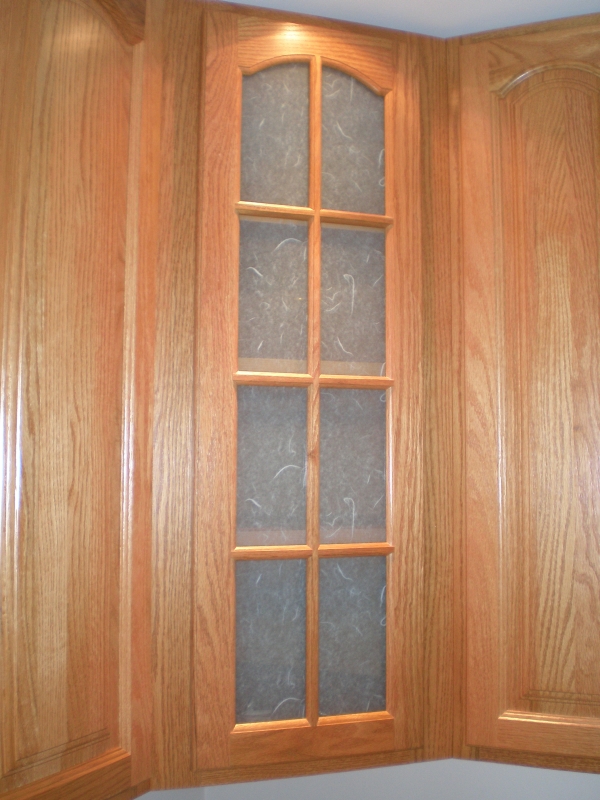
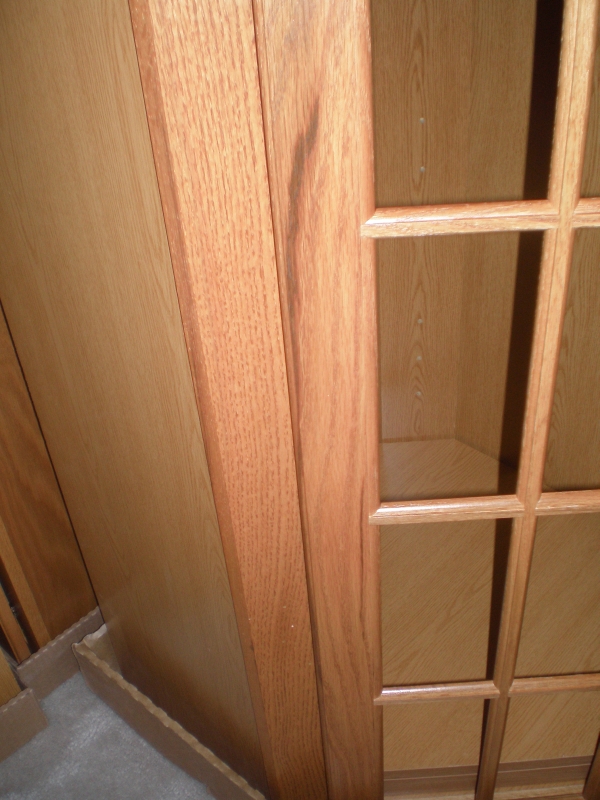 3/26 - I wasn't happy with this, but was going to let it slide until I had talked with the sales girl at Home Depot. I figured if I'm going to have to go through the hassle of having the others replaced I might as well do this as well. It looks like a burn mark, to be honest. It's probably not, just a dark streak of minerals in the wood, but it looks bad. This is the right corner wall cabinet. It would be bad enough if it were a normal cabinet, but on a corner with a glass panel I'm afraid it's going to stick out badly. |
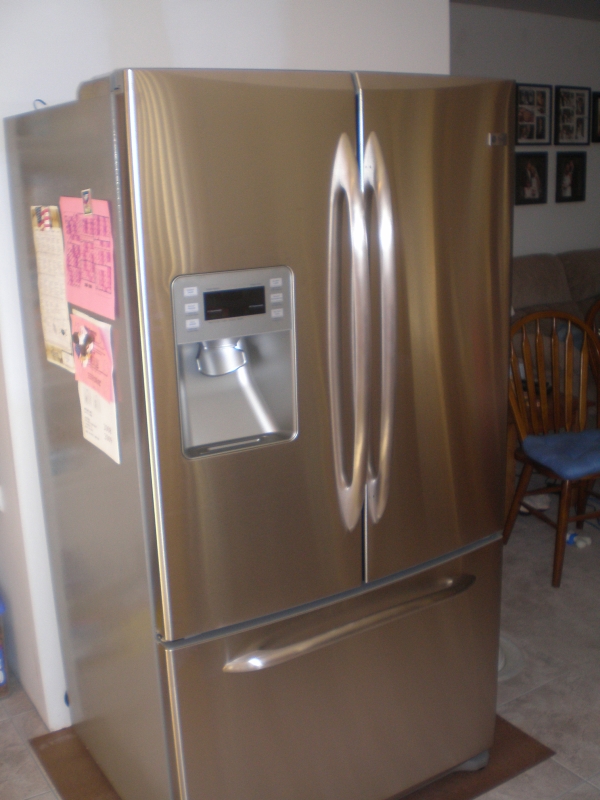 3/26 - Look what also arrived today. It's HUGE! We ordered all new appliances from Abt on Saturday. I had measured the old fridge and the basement door, and it was going to be really tight even with the doors off. I figured there was no way we could get it in front of the door and then down the steps. When the Abt delivery guys asked what we were doing with the old, I told him probably sell it but if we keep it, it will have to go in the garage. They measured the door and said "no problem, we move things for $40". I was so impressed with how they did it I paid them $60. LOL There's no way I could have done that! |
 3/26 - Here's the other side of the kitchen. We have the use of our old microwave, but I didn't think I'd miss having the stove hooked up so soon! I know that the first thing to get cooked will be a frozen pizza. :) |
3/27 - An update on the cabinet door problem: The manufacturer's rep has been contacted, and will be scheduling a site visit to look at them. He did tell the Home Depot sales girl to tell me that if the cabinet boxes are ok to go ahead with installation - if they need to replace just the doors not to slow down the install. |
 3/28 - Finally, cabinet installation day. Isn't this how this whole project started - by wanting to make the cabinets look better? Got all the old cabinets down by 10:00am. |
 3/28 - You know how they say the right tools make the job easier? It's true. That pole type thing is a T-Jak. It has a big jack screw in the middle and it's used to hold the cabinets up. We would lift the cabinet up onto the ledger board shown below and then crank the jack up underneath to take the weight of the cabinet. It made the job a lot easier not to have to hold all the weight by hand. And we also could use it to jack the cabinets up off the ledger where needed to line it up with the one next to it. |
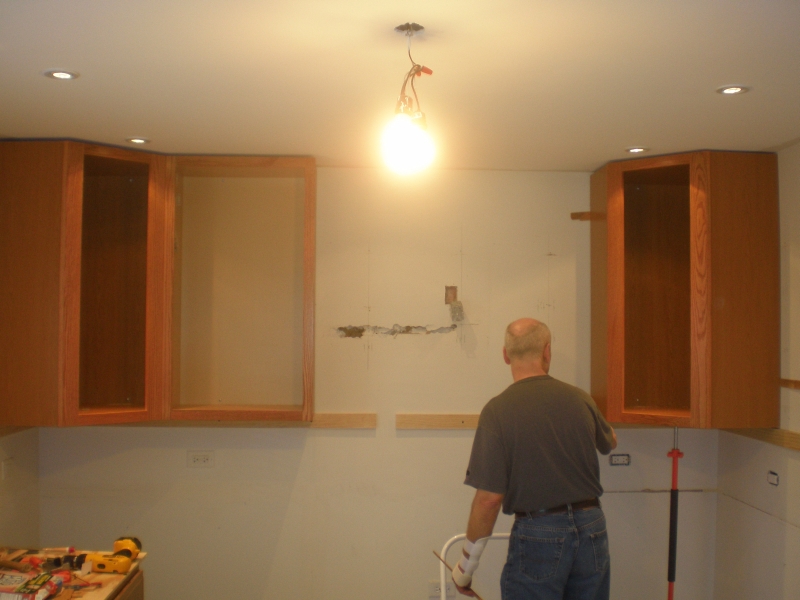 3/28 - Quite a bit of work between the last pictures and this point. Started with the corner cabinets. They have to be held down from the ceiling by about 5/8" to allow for the crown molding. The walls are far from straight and the corners aren't anywhere near 90°, so getting the corners level and plumb took some time. |
 3/28 - Then working towards the middle the next two cabinets weren't so bad since they have to line up with the corners which are already plumb. The hard (and scary) part is that once they were up we had to see if the middle cabinet would fit. It wouldn't - it's 30" and the space was 5/16" too small. The middle has to be 30" because the microwave mounts under it. Out came the router, took them both down, and shaved the inside face frames 5/32" on each side. Once my knees stopped shaking from taking a router to expensive cabinets, we put them back up and the middle fit perfectly! Almost like we knew what we were doing. |
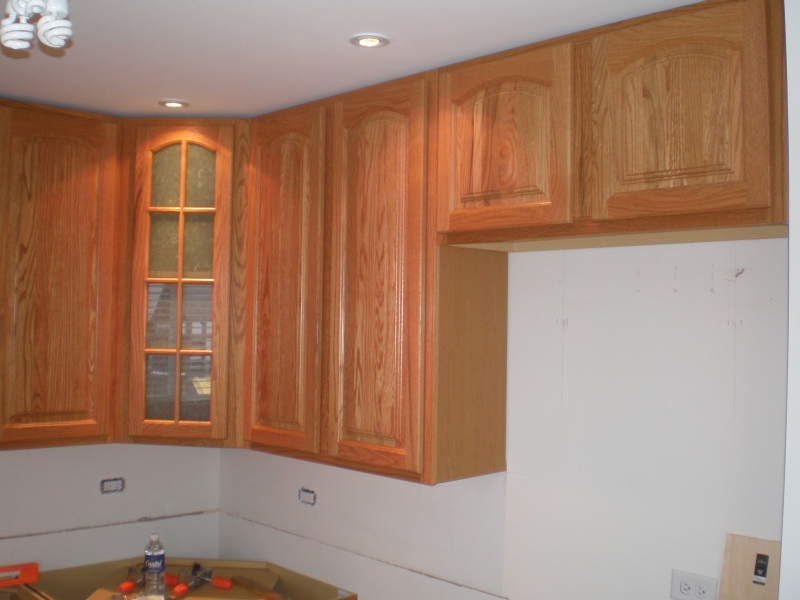
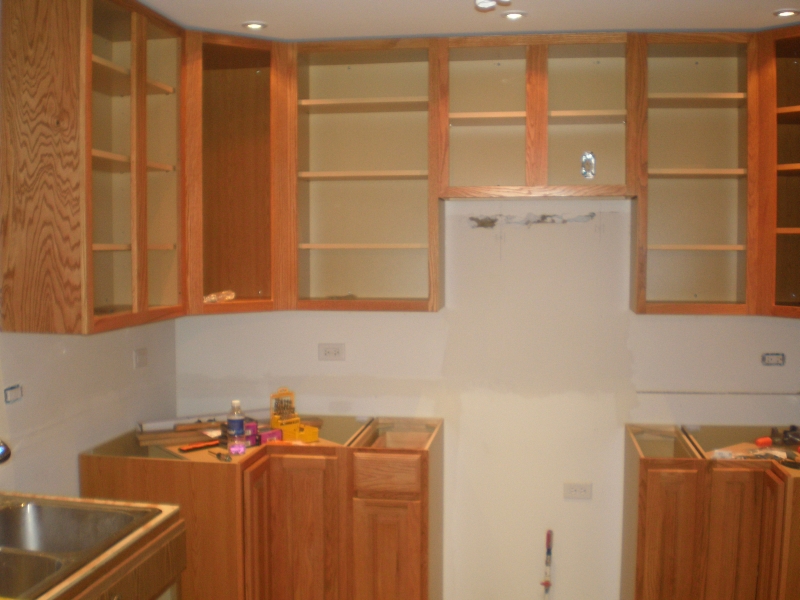 3/28 - From there the rest of the upper cabinets weren't too bad..... |
 3/28 - .....except that the ceiling isn't level. The right side slopes down as you come towards the fridge opening. The tops were getting way too close to the ceiling. So we had to back out some screws, make some adjustments from the corner on back, and got closer to the 5/8" gap that's needed. It might be noticeable when the crown goes up, but probably won't be bad. The base cabinets aren't installed yet, I just wanted to check the space for the stove. It also needs to be 30", and it's also too short. I'm going to have to trim the cabinets on either side like I did the uppers. |
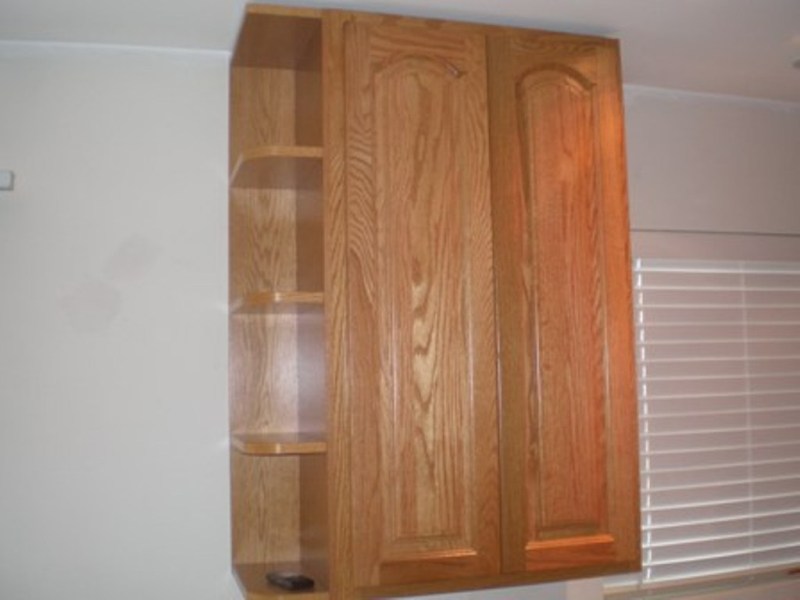
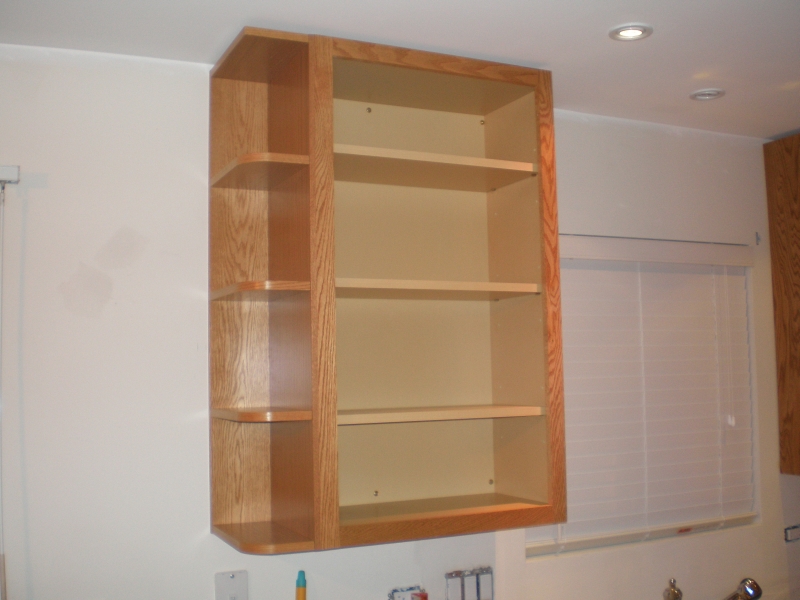 3/28 - The shelf turned out to be more difficult than expected. The right side is less than 1/2" thick, and the instructions only call for 4 screws to mount the shelf from the inside of the cabinet. We didn't think that would be enough, so we added longer screws that line up with and go into the top shelf. It turned out nice. I was going to put the doors on tonight, but ran out of energy while putting the shelves in. |
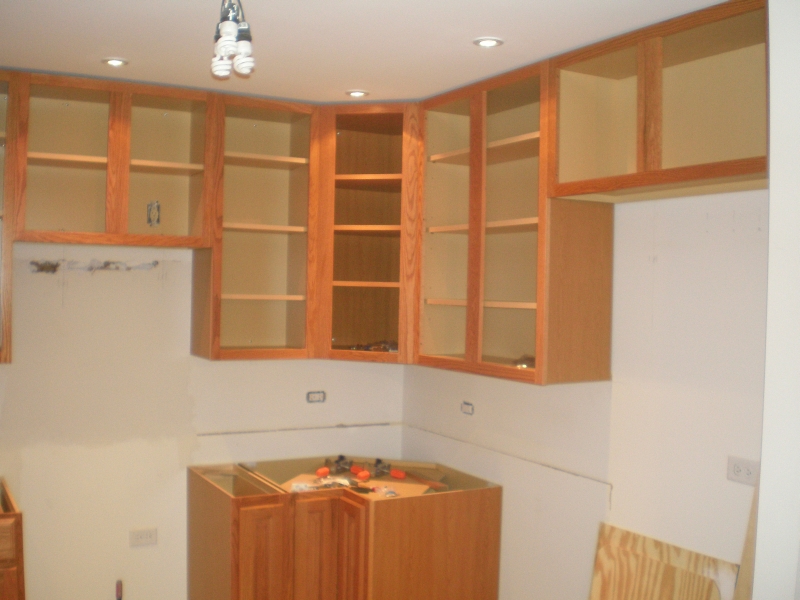
 3/29 - First thing accomplished today was to get all the doors mounted. |
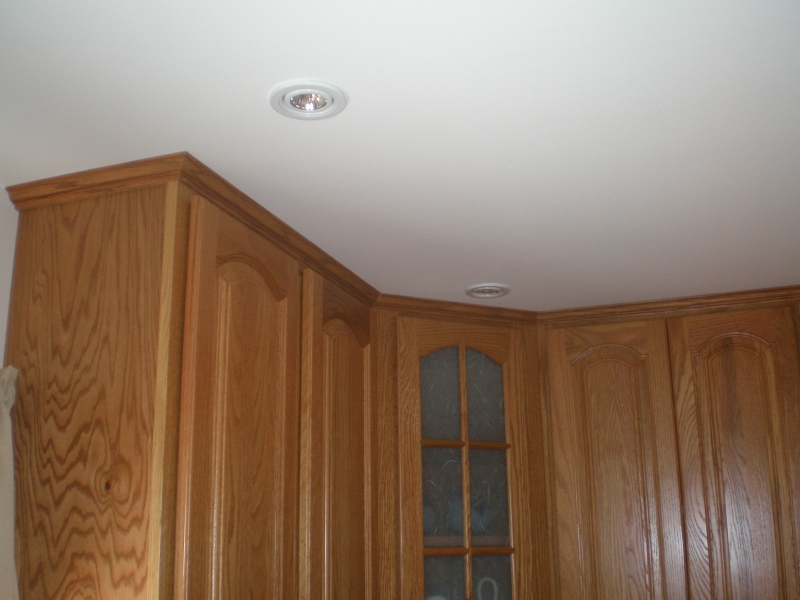
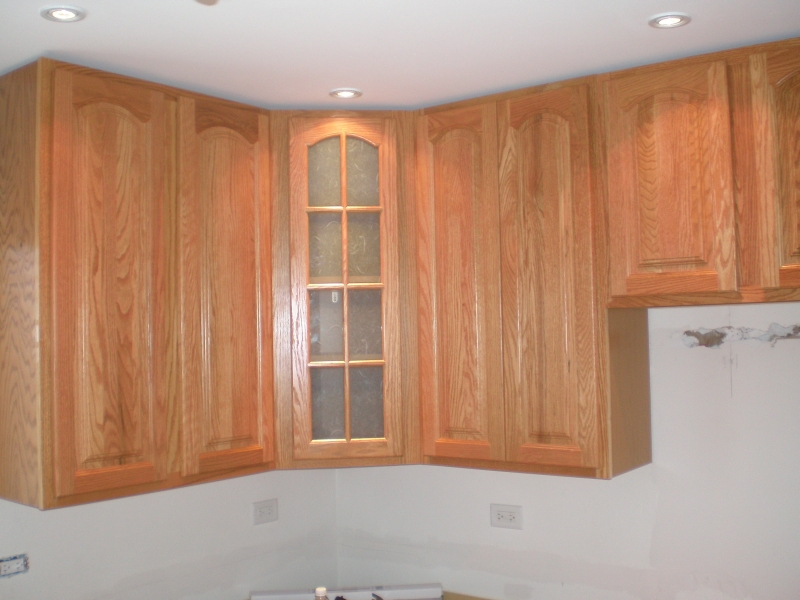 3/29 - The rice paper glass doors in the corners look great, and I'm really happy with how the recessed halogens light them up. |
 3/29 - Some of these pictures make the cabinets look lighter than they really are. This one is a close representation of the true color. |
 |
 |
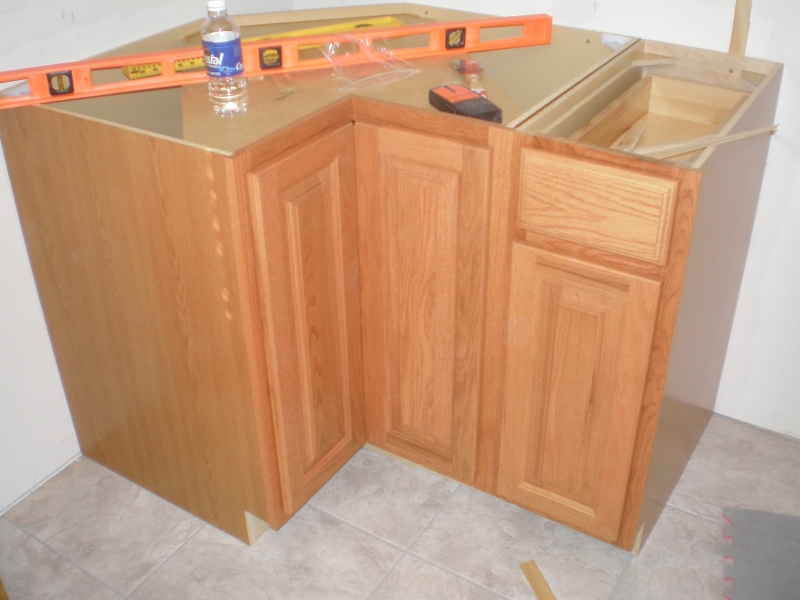 3/29 - The next task accomplished was to install the base cabinets. I leveled and mounted both corners, then trimmed the left side of the narrow cabinet shown here. You can't even tell. |
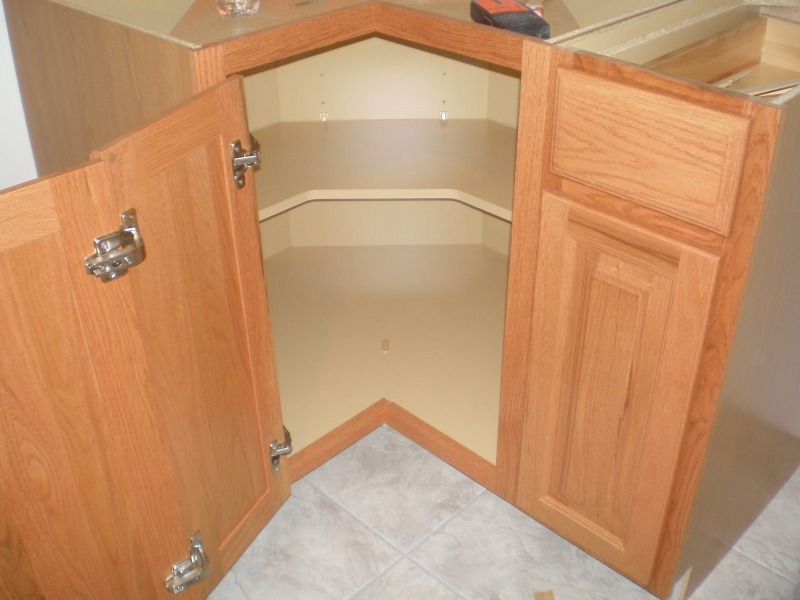 3/29 - The left corner is a 36" cabinet with what they call "easy reach". The opening is nice and wide, and now we'll be able to actually use all of the space! |
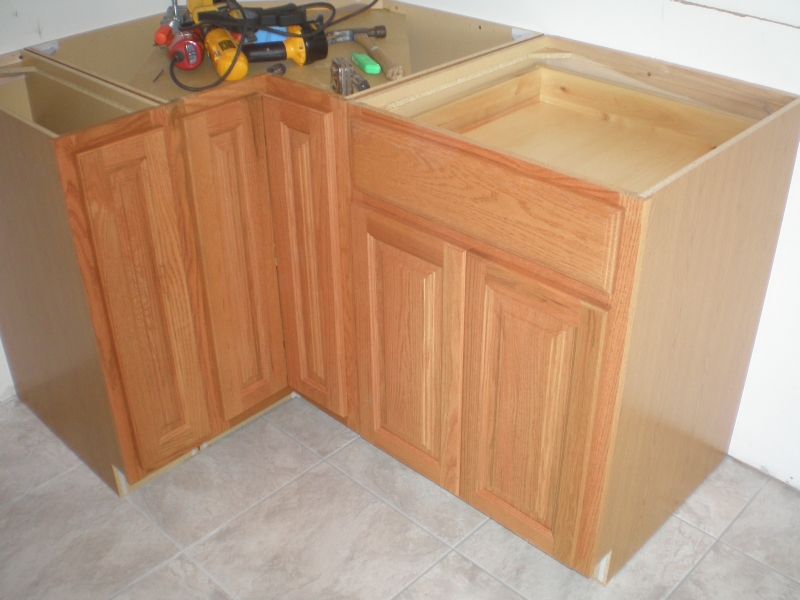 3/29 - Here's the right side. I also had to trim the narrow 9" cabinet. I ended up with exactly 30" between them for the stove - and needed every bit of it. I told Michelle after I used the router to trim the face frames back that she needs to thank Norm Abram and Dean Johnson of Hometime for my ability to do stuff like that! |
 3/29 - The right corner is a 33" cabinet with what they call a "Super Susan". It doesn't have a pole in the middle, and the two spinning shelves are wood. |
 3/29 - Next in line is a 24" base with a "Kitchen Pot & Pan Pullout". I'm not sure how much we'll actually use the pullout feature, but I like the way this will help organize the pots and lids. |
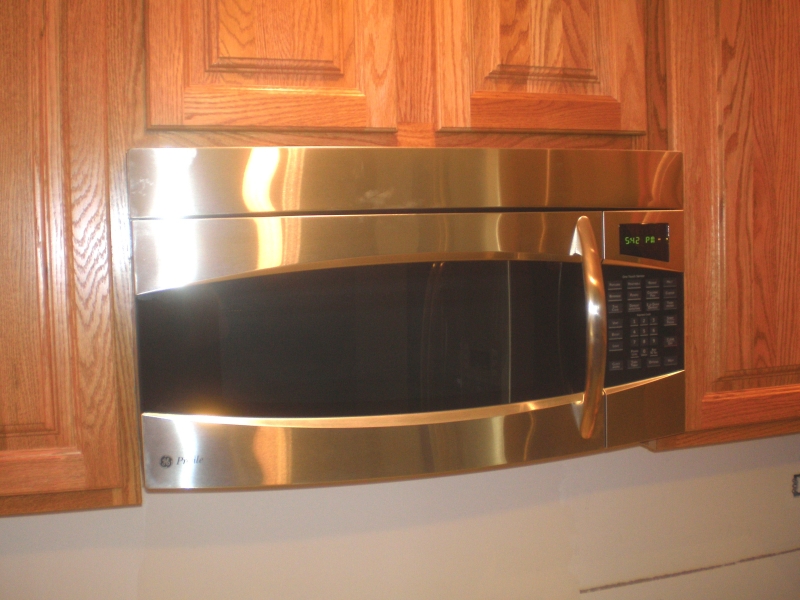 3/29 - Next task was to mount the microwave. It wasn't difficult, but did require 3 screw holes through the bottom of the cabinet and one hole for the cord. The vent exhausts into the room through a charcoal filter. The fancy thing about this model is that top stainless panel automatically tilts open when you turn the fan on and when you run the microwave. I broke it in later heating up leftover pizza. |
 3/29 - Since the right side is done (almost), I got to move the fridge in place and hook up the water line. I was getting a little tired of running to the basement to get ice cubes! We had been keeping this one empty so it would be easier to move on the new floor. |
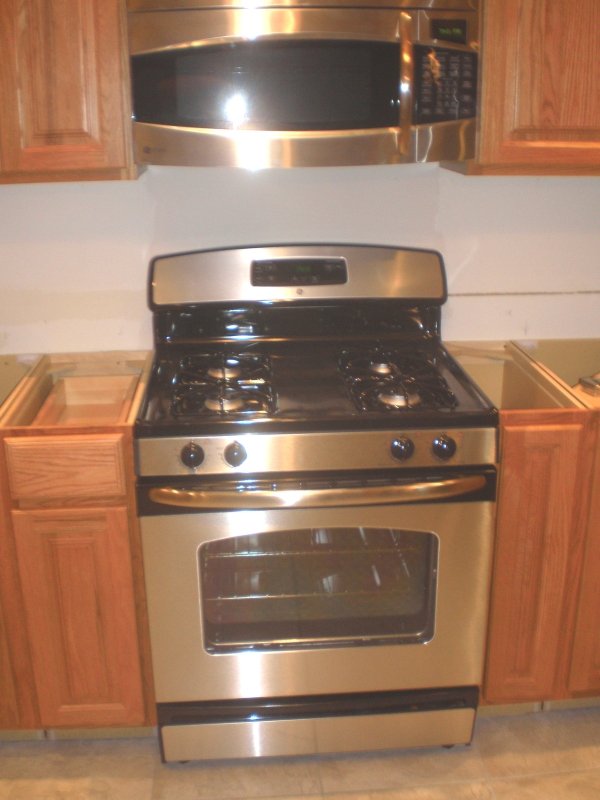 3/29 - And finally the stove. I hooked it up, tested the burners, and then waited for Michelle to get home from eating dinner with her parents to move it in place. And of course when we did it I started to smell a little gas. So we had to pull it back out, I squeezed back behind it and tested the fittings again. Found the leak, tightened the fitting, and we were good to go. |
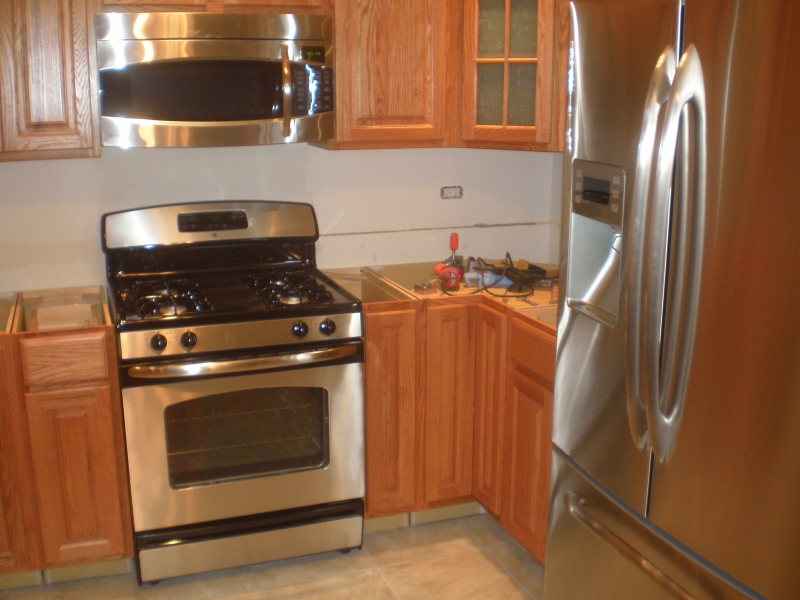 3/29 - It's starting to look like a kitchen again! And it's starting to look great too. Michelle thinks it looks bigger now. |
 3/29 - And the last task of the day was the light fixture. I'm really surprised how good this looks. It just fits the look of the room. Very classy. |
 4/9 - The last cabinets have been in for a week, I just never updated. The dishwasher has to be final-leveled yet, and trim pieces put on. I am waiting till after the countertop is installed. It's hard to see, but I also got the toe kicks installed. It's starting to look finished! |
 4/9 - Finally found a garbage can we like. Most of the stainless we've seen were twice the price and flimsy. I got this one at Sam's Club for $53. |
 4/9 - Crown molding is all installed. I still have to fill the nail holes, but this really made a difference in how it looks overall. I'm glad I ordered one extra 8' piece too - I needed it. |
 |
 |
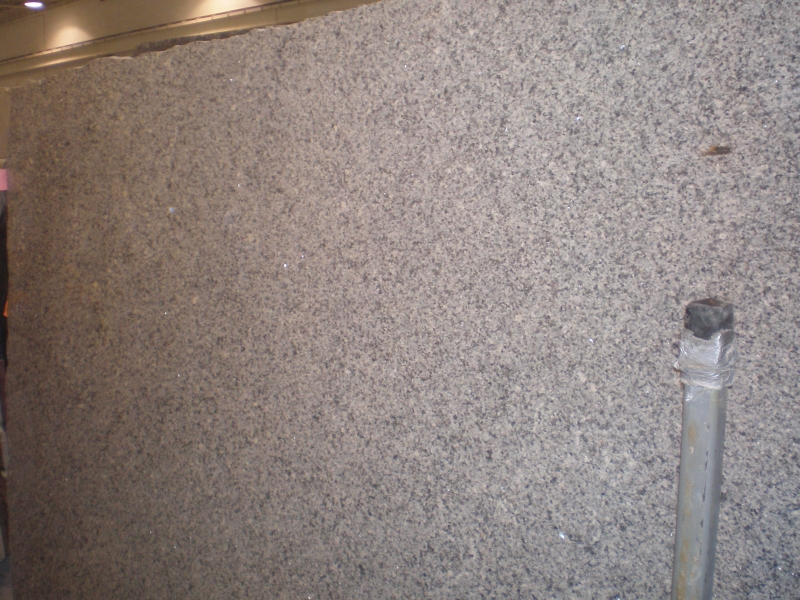 4/10 - I went to the granite importer in Glendale Heights to look at the slabs. They look really good. They ship to our installer on Monday, and should be installed the week after. |
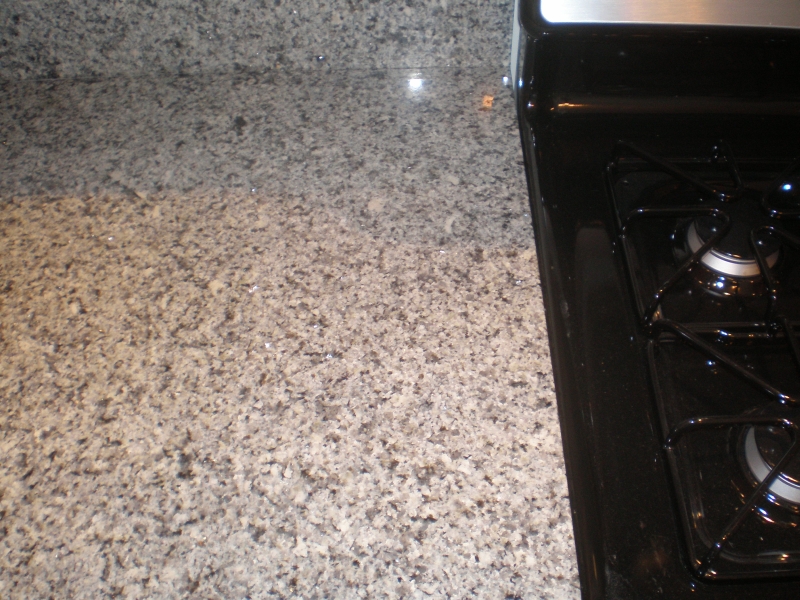
 4/10 - I took this picture as a closeup of the carbon mark (which the installer says won't be a problem for them to work around) but it's a good picture to see the texture of the grain and sparkle of the reflective silver bits. |
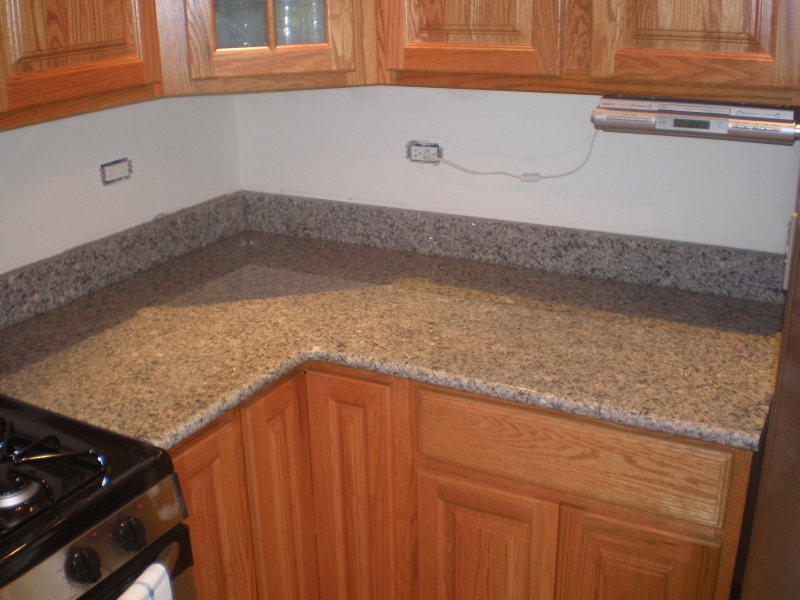
 4/23 - The granite countertops are installed and they look great! The color is perfect for the floor and looks good with the stainless appliances. Not shown here is a 6" wide piece I had them make that sits on the stove between the burners as a spoon rest. |
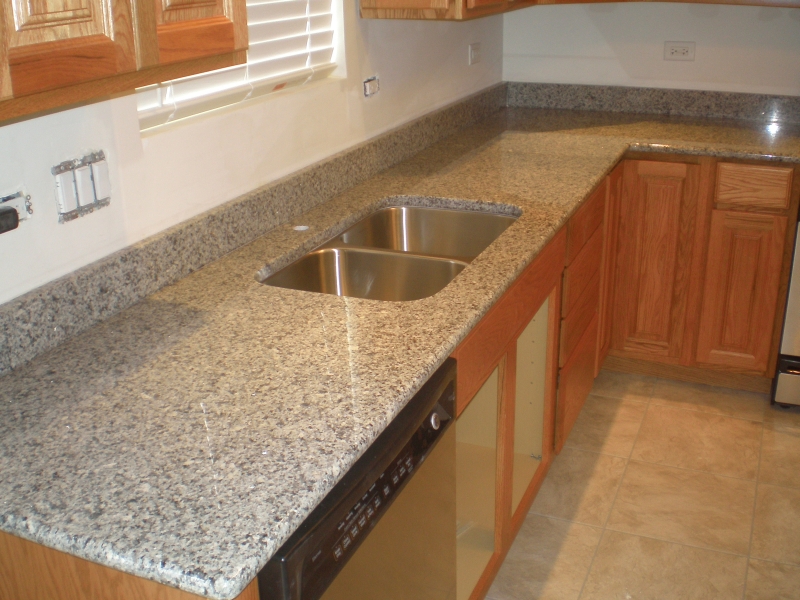 4/23 - The seam is 21" to the right of the sink. It is hardly noticeable because of the consistent texture of this particular granite. What you can see is a light/dark difference in the pieces. I think that is because of the direction they are cut off the slab. |
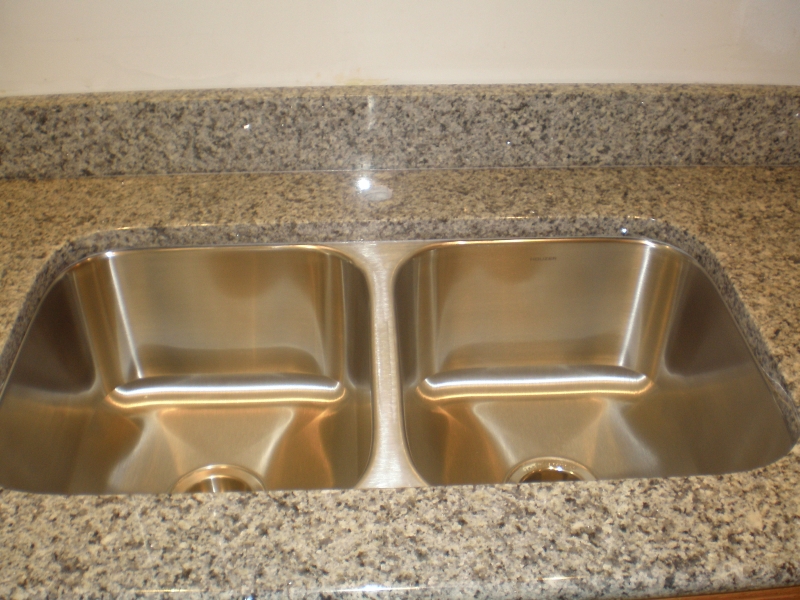 4/23 - When I ordered the 9" deep sink, I was thinking it would be nice to have an extra inch of depth. What I forgot to take into account is than it is undermounted below 1-1/4" of countertop. So now the bowl bottoms are over 10" below the counter surface. I'm sure we'll get used to it, and it will sure keep the splashing down, but washing dishes by hand would get tiring on the back! |
 |
 |