Click on any picture to open a slideshow. Once there, you can click the link in the caption for the full-size picture.
My first attempt at building a ukulele. This is from a Stewart-MacDonald cutaway tenor kit I purchased when my local Rockler store closed and had it heavily discounted. I bought it hoping it would light my fire and get me to go back and finish the acoustic guitar build documented here: AcousticBuild. The top is solid mahogany. The back and sides are laminated mahogany (plywood). The neck is pre-shaped mahogany with a walnut fretboard. The sides were pre-bent. There is no rosette around the sound hole and the kit is pretty basic. Overall this was similar to an acoustic guitar but a lot simpler.
The goal was to keep it that way, but I couldn't leave the exposed edges of the top and especially the plywood back and chose to use cream colored plastic binding to dress it up. I also used this to experiment with using the CNC to do an inlay, which is documented here: CNCLogoInlay. Overall it came out very nice and plays well. Learning how to play ukulele has been a challenge as the tuning/fingering is different than guitar.
I didn't document the build process, but wanted to add a page for it with photos I found on my phone.
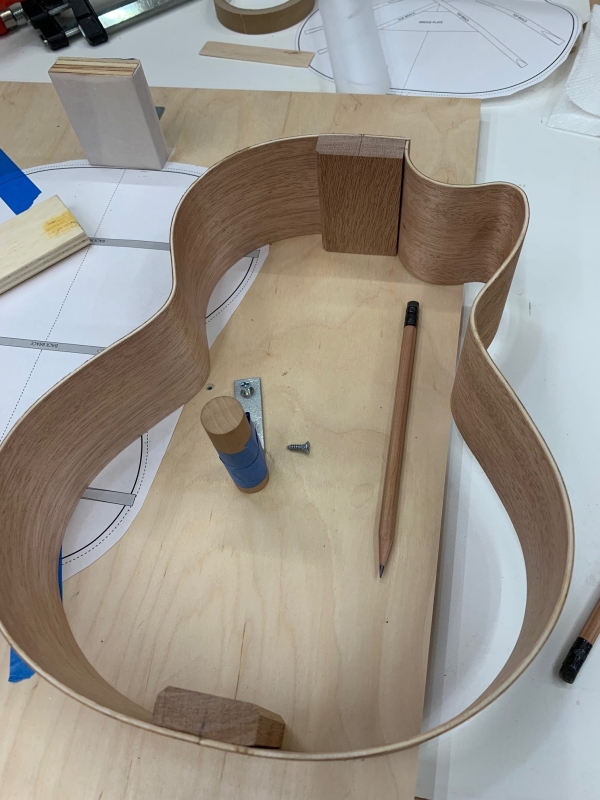 The sides have been glued up with the neck and heel blocks. Since a ukulele top and back are flat, a simple mold is used with blocks and dowels to hold the sides in place. |
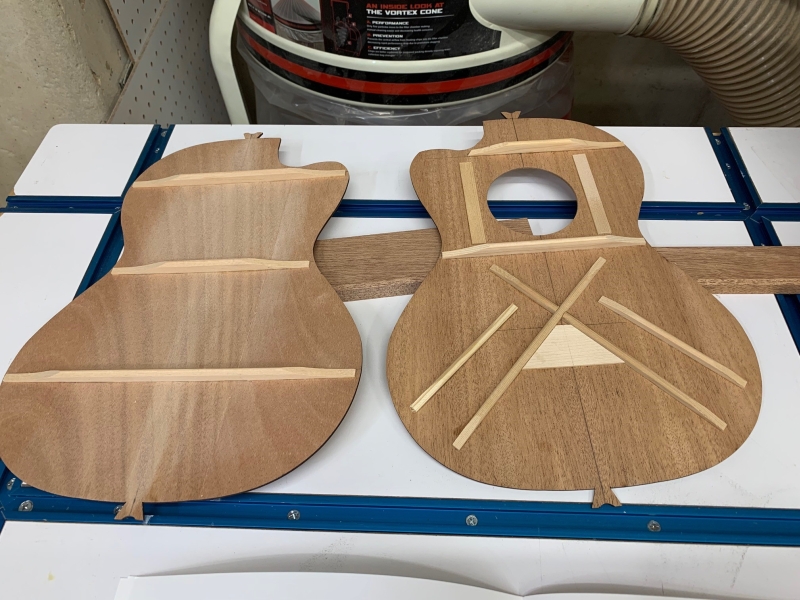 The top and back with their bracing installed and shaped. |
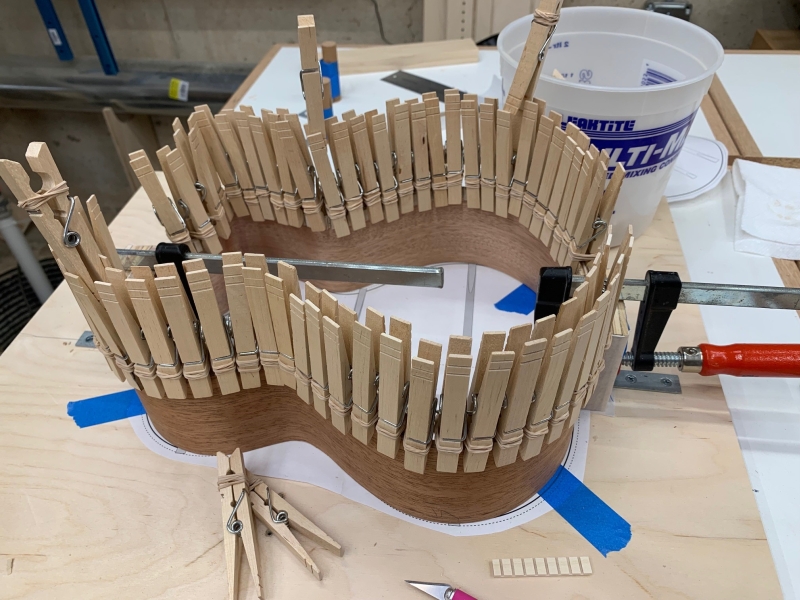 Gluing in the kerfing. |
 I didn't want to see edges of the top or back, so I chose to use plastic binding. The rabbet was cut and the binding being test fit. |
 Plastic binding is easier to bend and glue in, but it does need some heat to help make the tighter bends. Lots of tape used to hold it while the glue dries. |
 The completed body after the bindings were scraped down flush. |
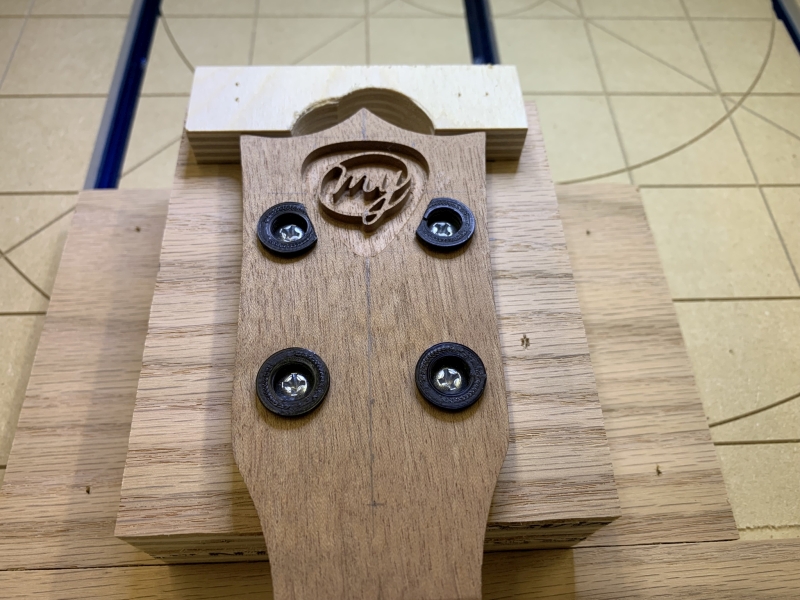 The pocket cut for the epoxy inlay. |
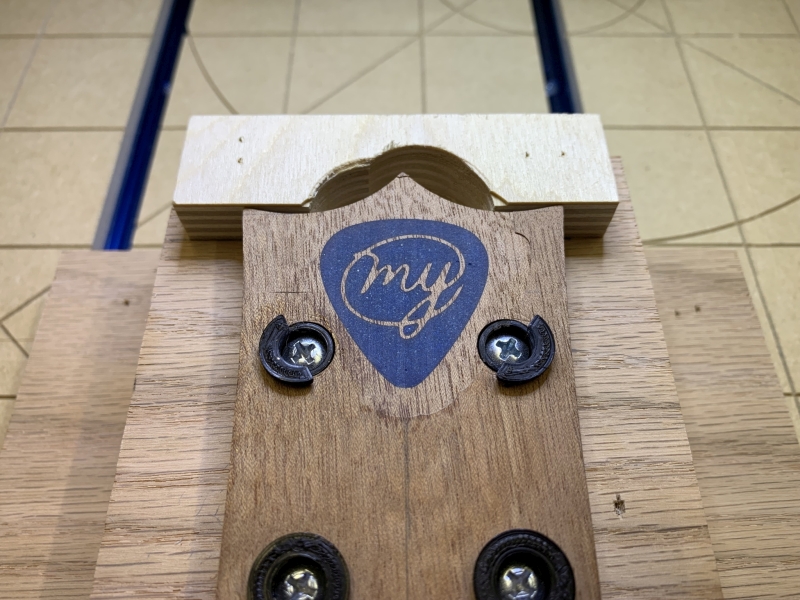 Epoxy-filled and then milled down flat. |
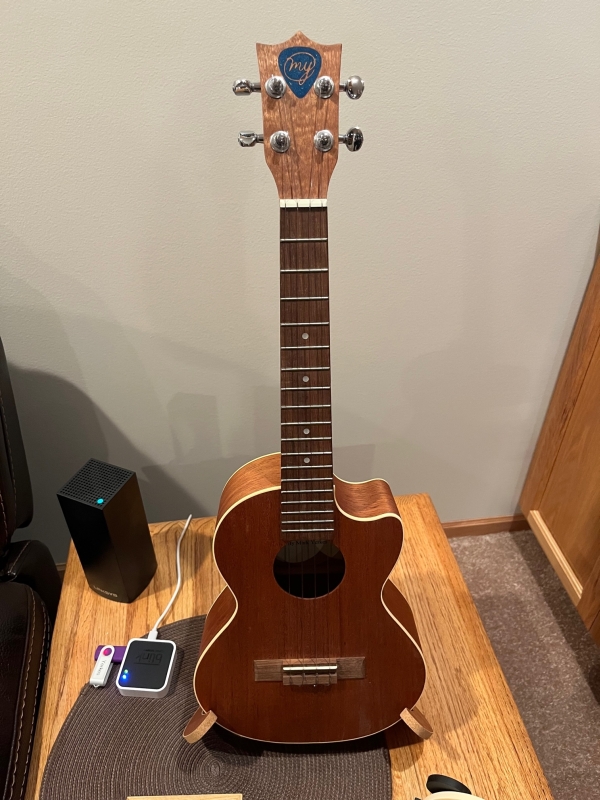 The finished ukulele. |